How to Do Winged Eyeliner
The Power of the Wing
Winged eyeliner creates an instantly eye-catching, glamorous effect. A precisely executed wing uplifts and flatters all eye shapes. It elongates and enhances the eyes for a more wide-awake appearance. Winged liner’s sultry yet sophisticated style garners timeless appeal. This iconic makeup technique provides the ultimate fashion-forward finishing touch.
Getting the Right Supplies
Employing the proper eyeliner tools impacts the final winged effect. For smooth, controlled application, liquid pen liners prove ideal for beginners. Felt-tip liners offer precision points for detailed lines. Gel formulas apply creamy and intensely pigmented. They require an angled brush but dry to a smudge-proof finish.
Use a sharpened eye pencil as an optional first guideline step. An eyeshadow primer or concealer provides a smooth, long-lasting base before lining. Micellar water and makeup remover help perfect uneven wings. Slanted tweezers assist with precise detail work and cleanup.
Mapping Out Eye Shape
Understanding individual eye shape assists in achieving flattering winged-out effects. Take time examining the eye area closely in direct light. Observe where the crease folds and if lids appear hooded or protruding. Note distances between tear ducts and brow arches. Eyes can appear close-set, wide-set, or perfectly symmetrical.
Outline the wing plan by visualizing where the liner should start and stop based on the eye’s unique contours. Using dry eyeshadow or powder helps map the lines first without commitment. This blueprint informs proper upswept angles.
Techniques for All Eye Types
Employ strategic winged liner methods for enhancing each eye shape’s best assets:
Close-Set Eyes: Concentrate liner at outer corners and extend outward for brightening elongation.
Wide-Set Eyes: Focus liner thickness toward inner corners, gradually thinning out.
Protruding Eyes: Direct wings subtly upward at outer edges to gently lift the appearance.
Hooded Eyes: Keep liner crisp along the upper lashline, avoiding inner corners.
Downturned Eyes: Angle liner upward at outer edges with sweep higher than crease.
Upturned Eyes: Sketch liner along eye shape angling slightly downward to balance appearance.
The Classic Winged Eye
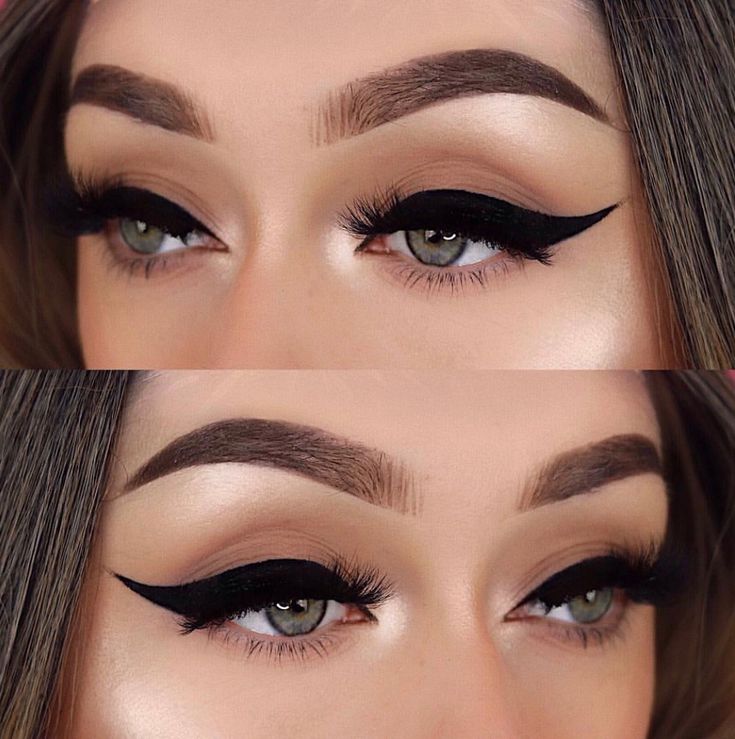
For a timeless winged effect, start by dotting a small line marking the outer corner. Hold the liner at a diagonal angle from the lower lash line upward toward the end of the brow bone. Guide the pen or brush inward toward the center lash line. Ensure the inner corner remains clear and bright.
Draw the extension flick outward from that outer corner dot with one steady hand stroke. Make the wing no longer than the overall eye length for balance. Thinner tails look elegant while thicker versions achieve a bolder retro vibe.
Fill in any open spaces to connect the wing with the lash line. Use careful strokes to fill blank gaps cleanly. An angled skinny brush aids this process for perfectly crisp lines. Match the liner thickness to individual eye shapes.
Exaggerated Wings
Dramatic wings dial up the glamour for high-impact evening or editorial looks. This exaggerated feline flick requires more methodical execution but delivers striking impact.
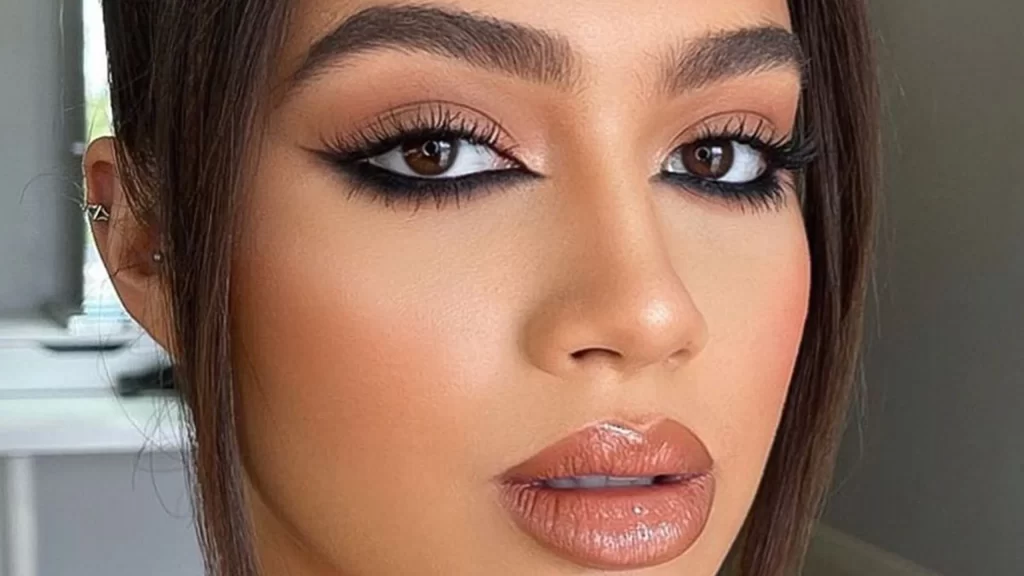
First, thickly line across the full upper lash line from inner to outer corners. Connect the liner with the lower lash line at the outermost edge. Use a small brush or cotton tip to clean and clearly define the outer corner angle.
With the liner outline set, draw the extended wing flick from that corner. Steadily pull the line outward with soft tapered pressure. Elongate the tail according to desired intensity. Thick sweeping arches impart bold drama while thinner tails read modern.
Evenly fill in the negative wing space with liner. Use an angled brush to smooth harsh edges into crisp points. Adjust tail angles if needed to harmonize with eye shape. Top with voluminous lashes and graphic highlight.
Negative Space Wings
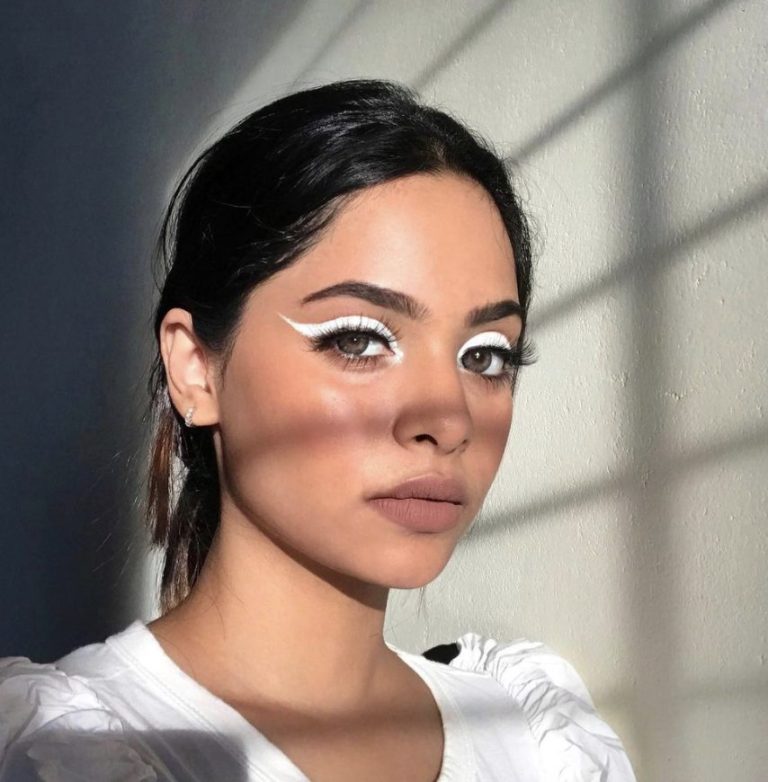
Negative space liner brings a fresh creative spin to winged looks. This technique carves out eye-catching negative space silhouettes with contrasting white or flesh-toned liners. It makes a high-impact graphic statement without harsh lines weighing down the eyes.
Start by fully lining the upper and lower lash lines with matte black pencil or gel liner. Focus darkness at the outer corners, leaving inner areas brightened. Draw the winged extension first, reserving the open portion.
Next, use a pale nude, white, or colored pencil to outline and fill in the desired negative space within the wing shape. The carved-out clean line creates dynamic dimension against the inky base. Layer multiple pastel eyeliner hues or iridescent pigments in the open area for artfully modern negative space designs.
Color & Embellished Wings
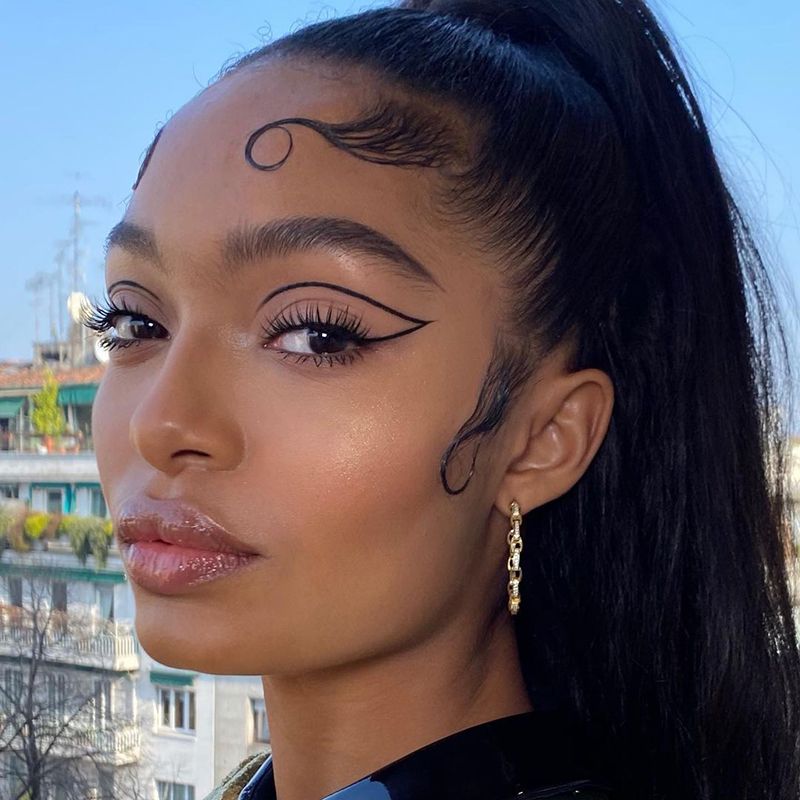
Swap traditional black pigments for vivid colored liners or shadows. Cobalt blue wings impart a vibrant pop when swept outward at dramatic angles. Emerald green creates a mesmerizing alluring gaze. Neon brights and metallic pigments yield avant-garde editorial flair.
Take winged liner application further with dimensional embellishments and glistening accents. Strategically placed gemstones, studs, and glitters along the tail amplify shine and sparkle. Pressed holographic paillettes capture radiant light reflection at every angle.
For runway drama, layer chunky loose glitters directly over fresh liquid liner with a patting motion. Colorful foiled shadows applied as liner impart intense multi-dimensional shimmer. Anything goes when it comes to creatively elevating winged eye designs!
Mastering precise winged liner application opens the door to countless flattering eye-enhancing effects. Follow strategic techniques tailored for individual eye shapes. Or unleash artistic flair with graphic colored wings, negative space carving or embellished flourishes. The timeless winged look commands attention with a captivating aesthetic for day or night.
Conclusion
Achieving a flawless winged eyeliner look is attainable with practice and technique. By following the steps of drawing a fine line, creating a wing, and connecting it to the upper lash line, you can create a stylish and captivating look. Remember to be patient, take your time, and make small adjustments as needed.
Experiment with different angles and thicknesses to find the style that suits you best. With practice, you’ll gain confidence and mastery over creating stunning winged eyeliner looks that enhance your eyes and elevate your overall makeup. So, grab your favorite eyeliner and start practicing – you’ll be rocking the winged eyeliner look in no time!
