How to Put on False Eyelashes for Beginners
A Step-by-Step Guide to Applying False Eyelashes Like a Pro
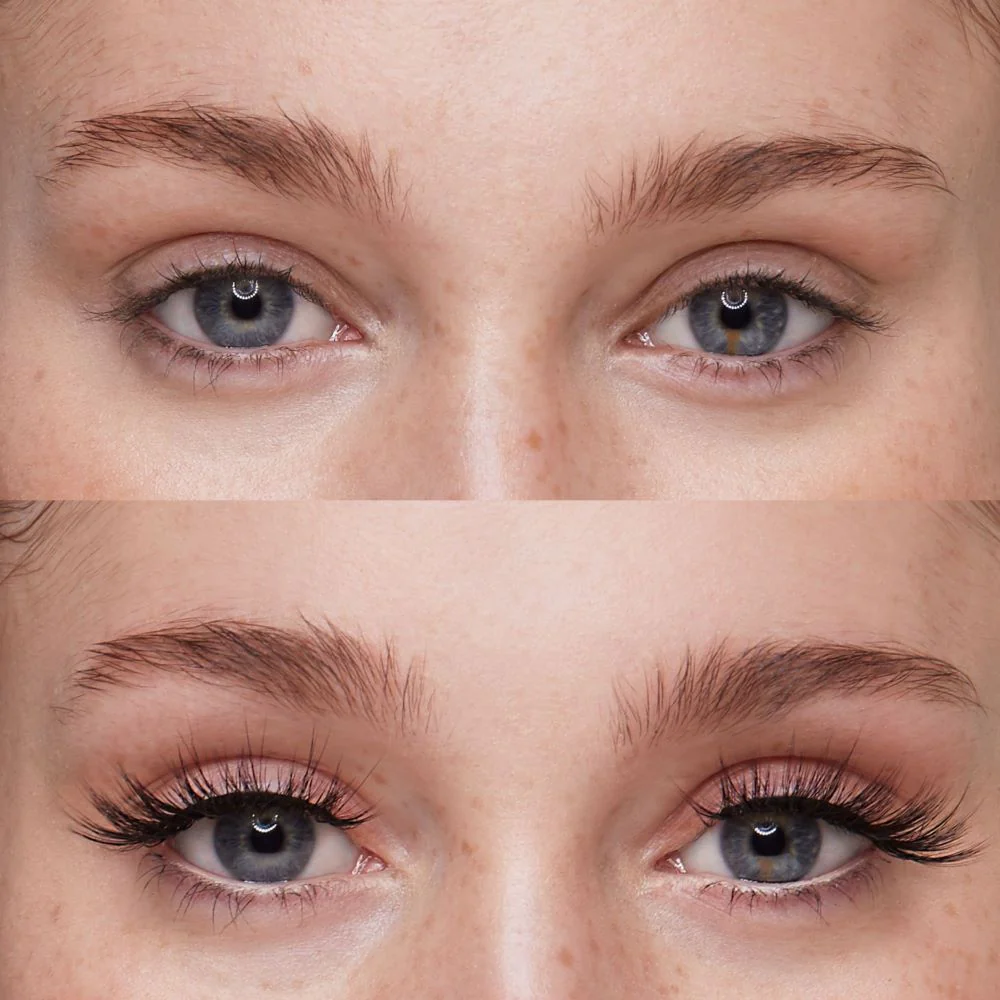
False eyelashes can take your makeup look from mundane to striking in just minutes. But for lash newbies, the application process can seem daunting. How do you get the lashes positioned just right? Do you blend natural and false lashes seamlessly? How to put on false eyelashes for beginners?Don’t worry – with this detailed beginner’s guide, you’ll learn how to put on false lashes like a pro.
From lash band anatomy to the ideal adhesives, we’ll cover everything you need to know to apply strip or individual lashes flawlessly. With a bit of practice, you’ll be an expert lash applier in no time!
Lash Band 101 – The Anatomy of False Lashes
How to put on false eyelashes for beginners?Before applying lashes, it helps to understand the parts that make them work. Strip lashes have three components:
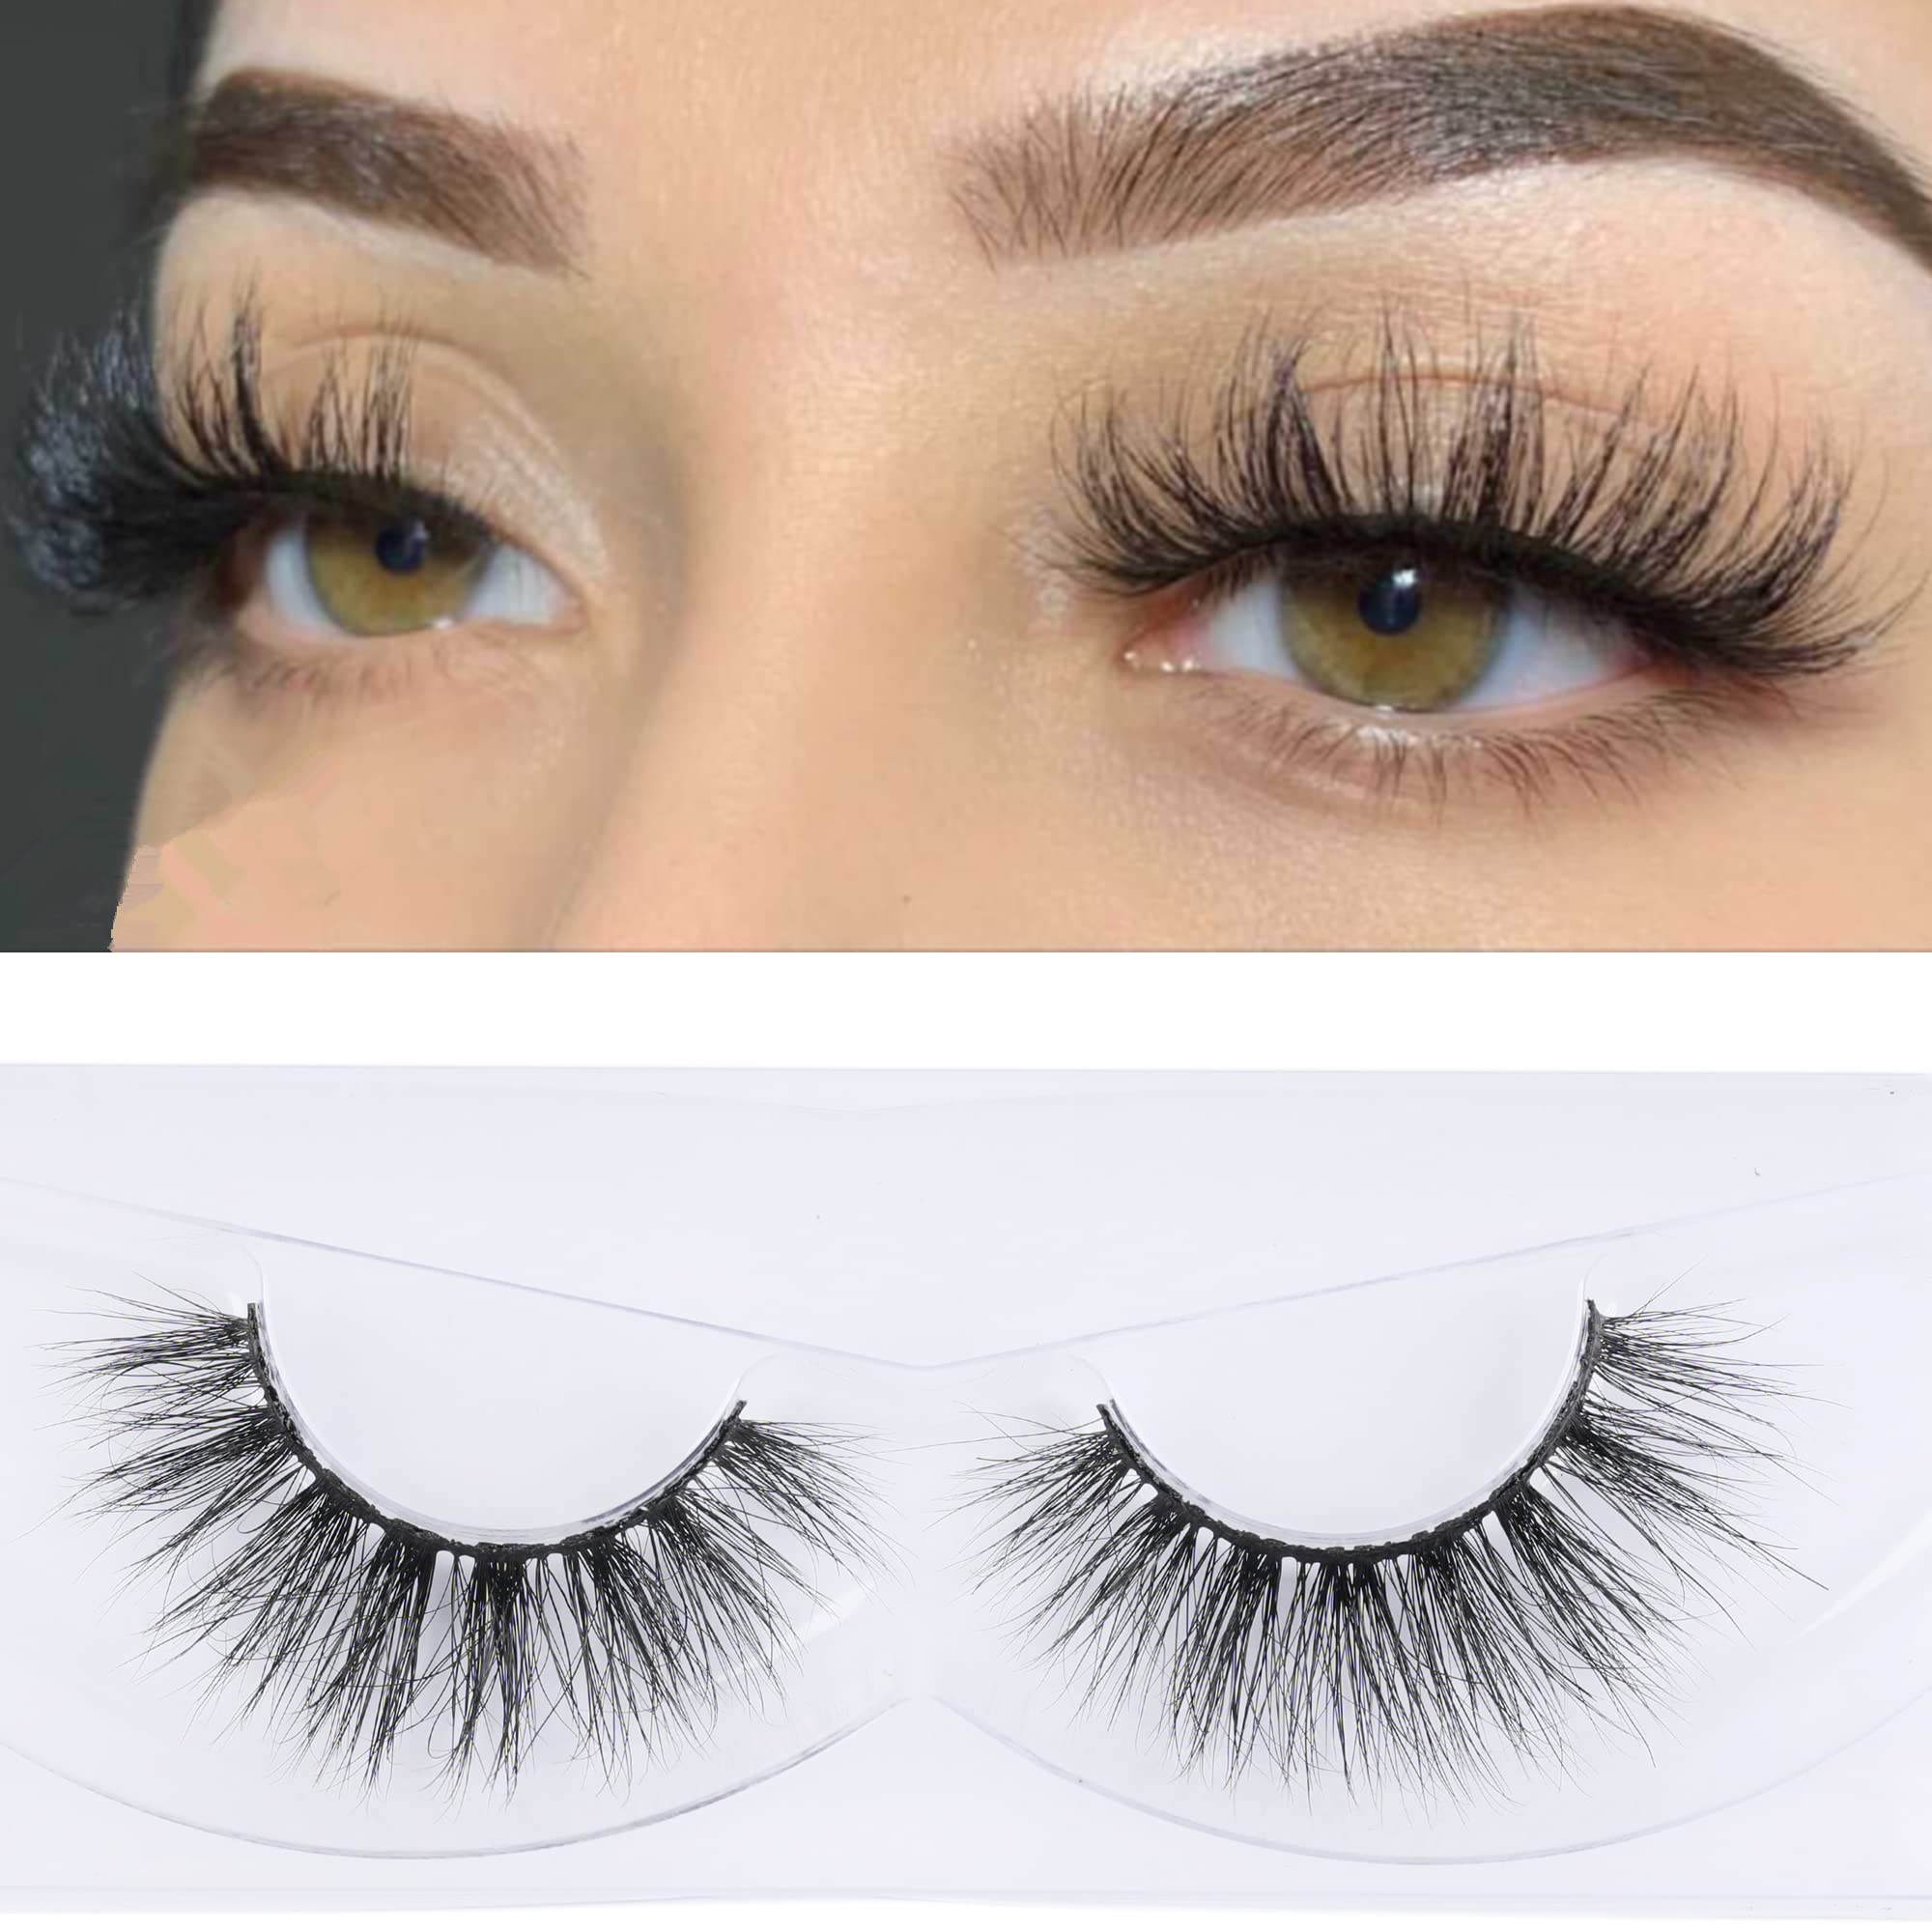
Lash Band – The thin, transparent base that individual lashes are attached to. Bands are shaped to hug the lash line and come in round and winged shapes.
Knots – Tiny plastic dots where each lash hair is attached to the band. Good bands will have more knots for a fuller look.
Lash Hairs – The style and length of hairs adhered to the band creates different looks, from natural to bombshell. Hairs can be synthetic, mink or silk.
For individual lashes, an ultra-fine clear band attaches a single lash hair to allow for a customizable application.
Choosing the Right False Lashes for You
How to put on false eyelashes for beginners?With so many lash styles out there, it can be tricky picking the perfect pair for your needs. Here are some tips:
- Choose length based on your eye size. Subtle short or medium length lashes work well for smaller eyes. Go dramatic with long lashes on bigger eyes.
- Pick bands suited for your eye shape. Curved bands accent almond eyes best. Rounded bands work on round or hooded eyes.
- For wide set eyes, choose lashes that are longer in the center to pull eyes inward. Or, trim outer corner lashes shorter.
- Opt for lightweight, flexible bands if you’re new to lashes – thick bands are trickier to apply.
- Buy wispy, scattered lashes for a natural effect or fuller, more uniform lashes for glam looks.
- Make sure the lash band fits the width of your eye – too wide or narrow won’t blend seamlessly.
Prep Your Lids for Hassle-Free Application
Prepping your lids properly before applying lashes will make the process infinitely easier. Just follow these three simple steps:
1. Curl your natural lashes: Curler clamps grip lashes better before falsies go on. Heating your curler with a hairdryer gives an even better curve.
2. Apply liner along the upper lash line: Liquid or gel liner coats the base of lashes to hide any lash band glue. Black or brown work best.
3. Apply a light layer of mascara: Focus mascara at the base of top lashes only. Avoid lower lashes to keep them glue-free.
Pro Tip: Use an oil-free makeup remover on a cotton swab to clean eyelids so glue adheres better.
Choosing the Right Glue for Secure Lashes
The right lash glue makes all the difference in getting your falsies to stay put. Here are the best options:
- Latex-free glues like Duo are formulated without irritants and hold lashes securely. They’re ideal for sensitive eyes.
- Black glues hide better along the lash line. Opt for latex-free black glue for the most natural look.
- Clear glues allow you to see exactly where glue is applied, good for beginners.
- Brush-on glues allow precise placement vs. squeeze tubes.
- Waterproof glues provide the strongest hold for long wear events.
For sensitized eyes, look for hypoallergenic cyanoacrylate glue – it has little odor and dries quickly.
Applying Strip Lashes Seamlessly
Now comes the fun part – it’s time to put those lashes on! Follow these steps for perfectly placed strip lashes:
1. Size and trim lashes if needed so they fit your eye width. Trim from the outer corner.
2. Squeeze a thin line of glue along the lash band. Wait 30 seconds until tacky.
3. Using tweezers, set the lash band right against your lash line in the center first, then press into the inner and outer corners.
4. Hold lashes in place for 60 seconds so glue adheres fully before letting go.
5. Sandwich your natural and false lashes together with more mascara to blend.
6. Repeat glue application every 8-12 hours if wearing lashes long term.
Individual Lash Application for a Custom Look
How to put on false eyelashes for beginners?For a truly bespoke lash look, individual lashes allow you to build your perfect shape one lash at a time. Follow these application tips:
1. Have fitting tools – pointed tweezers to handle tiny lashes and curved applicators to press them on accurately.
2. Dot a tiny amount of latex-free black glue on the clear lash band, waiting until tacky (about 20 seconds).
3. Tweeze a single lash and apply it to the base of your upper lash line, spacing lashes apart. Focus from mid-eye outward first.
4. Let each lash adhere for 10 seconds before setting the next. Build inward from center toward tear duct last.
5. For lower lashes, use shorter individual lashes only on the outer half for a subtle enhancing effect.
Take your time so you don’t apply lashes crooked. Building up gradually creates the look you want.
Make Lashes Last All Day with Pro Care Tips
Once your falsies are in place, use these pro tips to make them last:
- Avoid oil-based makeup and skincare around the eyes which can break down lash glue.
- Carry lash glue in your purse for quick touch-ups and re-adherence as needed during wear.
- Be gentle when removing lashes at the end of the day. Slowly peel off the band rather than tugging.
- Clean bands gently with micellar water after each use and store lashes horizontally to maintain their shape.
- Replace strip lashes after 10-15 wears as bands stretch out. Individual lashes can be reused more.
With the right tools and technique, false lashes go from intimidating to effortless. Before you know it, you’ll be reaching for your favorite pair of bombshell lashes for every glam occasion!


:max_bytes(150000):strip_icc()/byrdie-natural-false-eyelashes-tout-cd135b44c2f24f49a66425b6d1a9ce64.jpg)

