How to Use Setting Powder
Contents
hide
Introduction
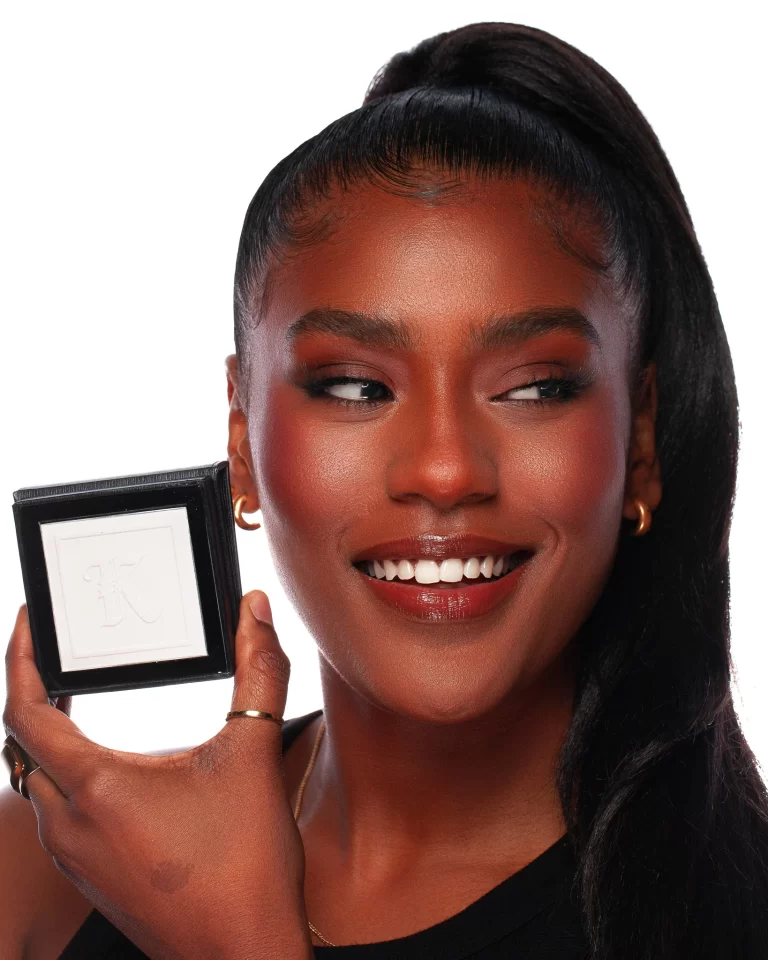
A silky and lightweight finishing touch to any makeup look, loose setting powder can transform your complexion. When used correctly, it can minimize the appearance of pores, control oil and shine, prevent makeup from creasing or sliding off, and leave skin with an airbrushed finish. However, the world of loose powders can be overwhelming for beginners. With so many formulations, tools, and techniques, it’s not always clear how to get the soft matte result you want without looking cakey or overdone.
This comprehensive guide breaks down everything you need to know. You’ll learn how to pick the right loose powder for your skin type, prep skin properly before application, use various tools to apply, layer correctly to get the coverage you need, and touch up like a pro. Mastering these techniques allows you to harness the power of loose powder to make your makeup last comfortably all day.

Understanding Your Skin Type and Choosing the Right Powder
With so many loose powder options available, from budget to luxury, translucent to tinted, matte to luminous, it can be difficult to know which one is best for your needs. But identifying your skin type is the first step.
Oily skin tends to benefit from mattifying powders with some silica content to soak up excess oil. Absorbent rice starch powders work well for oil control too. Limit luminous powders that can accentuate shine. Dry skin thrives with finely milled powders that won’t emphasize flakes or texture. Hydrating mineral options containing ingredients like mica and magnesium stearate are ideal for dryness.
Combination skin requires balance – use mattifying powder in the t-zone but smoother hydrating powders on drier cheek areas. Sensitive skin should avoid fragranced options and heavy silica powders in favor of soothing formulas with minimal ingredients.
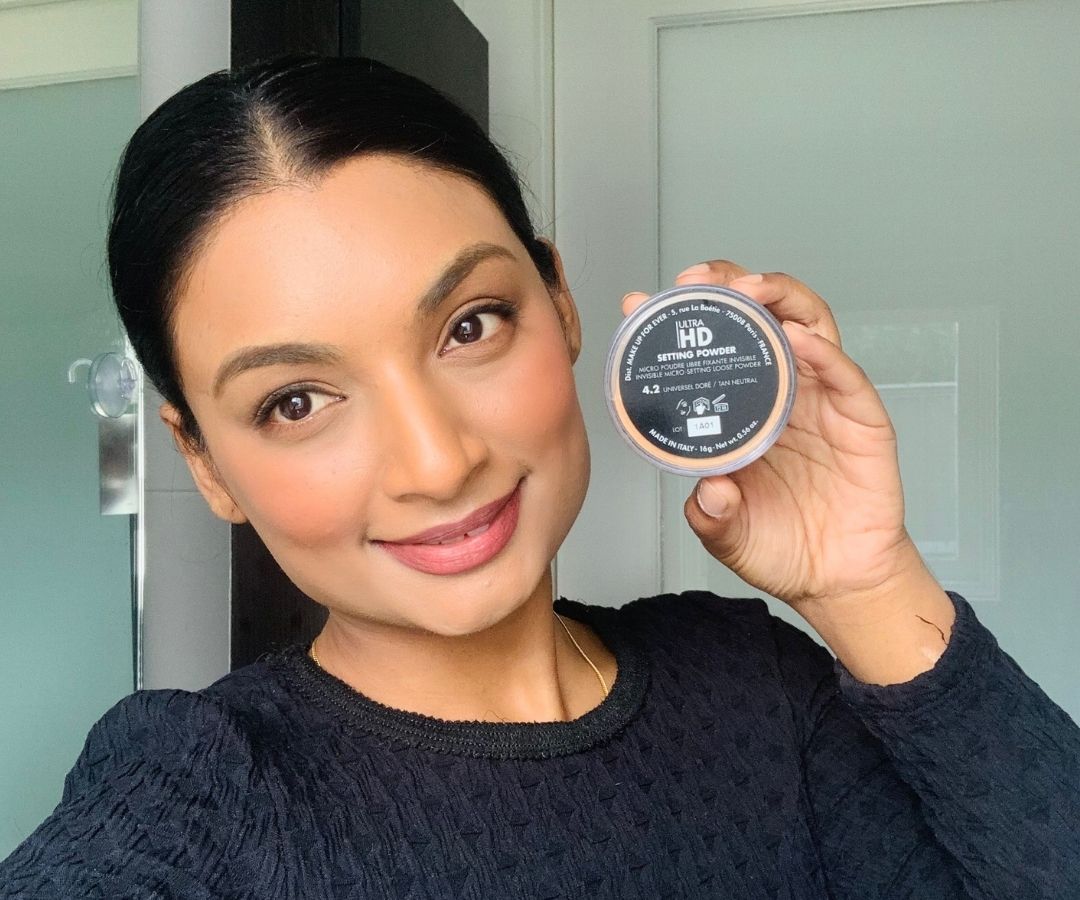
For most, a translucent universal shade provides suitable oil control and extension of makeup wear without adding coverage. But lightly tinted powders can provide a touch more blurring for those with discoloration to camouflage. Always avoid any powder shades too light or dark for your complexion – improperly matched powder can look chalky and unnatural.
Preparing Your Skin for Application
Flawless powder application starts with the canvas underneath. Always begin makeup with cleansed moisturized skin, and apply primer before complexion products. This creates the ideal smooth base.
Let liquid or cream products fully set before dusting powder overtop. Applying powder too quickly after foundation or concealer can lift or disrupt the previous layers. Give your base at least 2 minutes to set before locking it in place with powder.
Use primer complementing your skin type – hydrating for dryness, mattifying for excess oil and large pores, and color correcting for areas of redness or hyperpigmentation. Apply primer just to areas most needed rather than all over to allow the setting powder to adhere better across the face later.
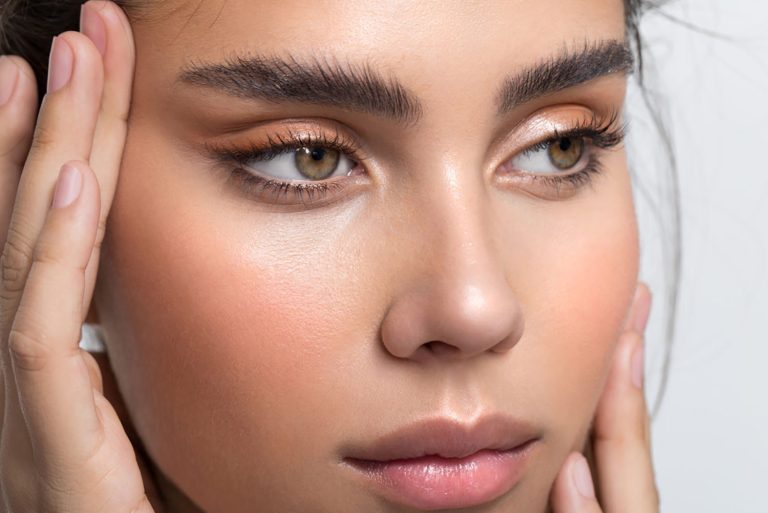
Proper skin prep prevents the powder looking cakey or exaggerated on the skin. Patience allows cream products to set properly so powder melds with the base seamlessly. Primer boosts benefits like oil control and blurring in the most needed zones.
Application Techniques and Tools
Various application tools yield different effects with loose powder. Powder puffs press powders into the skin for heaviest coverage. Large fluffy brushes dust on the lightest veil of powder. Mid-sized dense brushes provide excellent versatility for medium powder application.
Powder Puff
The velvety texture grabs powders easily. Use a patting and rolling motion to press powders into the t-zone or under eyes. This builds thicker coverage to combat oiliness or camouflage discoloration.
Kabuki Brush
The short dense bristles allow concentrated application. Use a buffing motion to pat powder onto smaller areas like around the nose or on the chin. The firm bristles give higher coverage and mattifying effect where needed most.
Large Fluffy Powder Brush
The soft widely spaced bristles pick up minimal powder perfect for an all over dusting. Use a light sweeping motion across the entire face to set makeup with a virtually invisible finish. Avoid rubbing or circular motions which apply excess powders.
Always tap brushes to remove excess powders first. Then target t-zone, under eyes, smile lines, and any remaining shiny areas after makeup application. Use lighter motions on the perimeter of the face to prevent heaviness.
Special Considerations and Tricks
The delicate under eye area requires extra finesse when setting concealer to prevent creasing. After applying concealer, wait several minutes then press an extremely light layer of powder only across the interior portion of the undereye, avoiding outer corners which crease easily. This sets concealer in place while minimizing caking and settling into fine lines.
When applying powders on top of cream blush, eyeshadow, or lipstick, use a lighter hand and less powder to avoid disrupting the product underneath. The natural oils in these cream formulas can break up powder so use minimal amounts. Alternatively apply powder first, then layer creams on top.
For touch ups during the day, avoid applying powder all over again. Instead use blotting papers just on oilier areas, then use a small brush to lightly pat on more powders only to excess shine zones as needed. Adding layers of powder all over can look cakey.
Common Misconceptions and Pitfalls
It’s easy to overdo it with powder, leaving skin looking chalky and textured. To prevent this, tap off excess product from brush and use a light hand when applying all over. Too much powders can settle into fine lines and pores visibly. Always focus on thin layers and build up coverage with precision only where required.
Flashback in photos is another pitfall, caused by silicone-heavy powders containing silica. To avoid ghostly white faces in pictures, stick to finely milled silica-free powders. Or apply powders more lightly around perimeter of face and areas most photographed, like the forehead and cheeks.
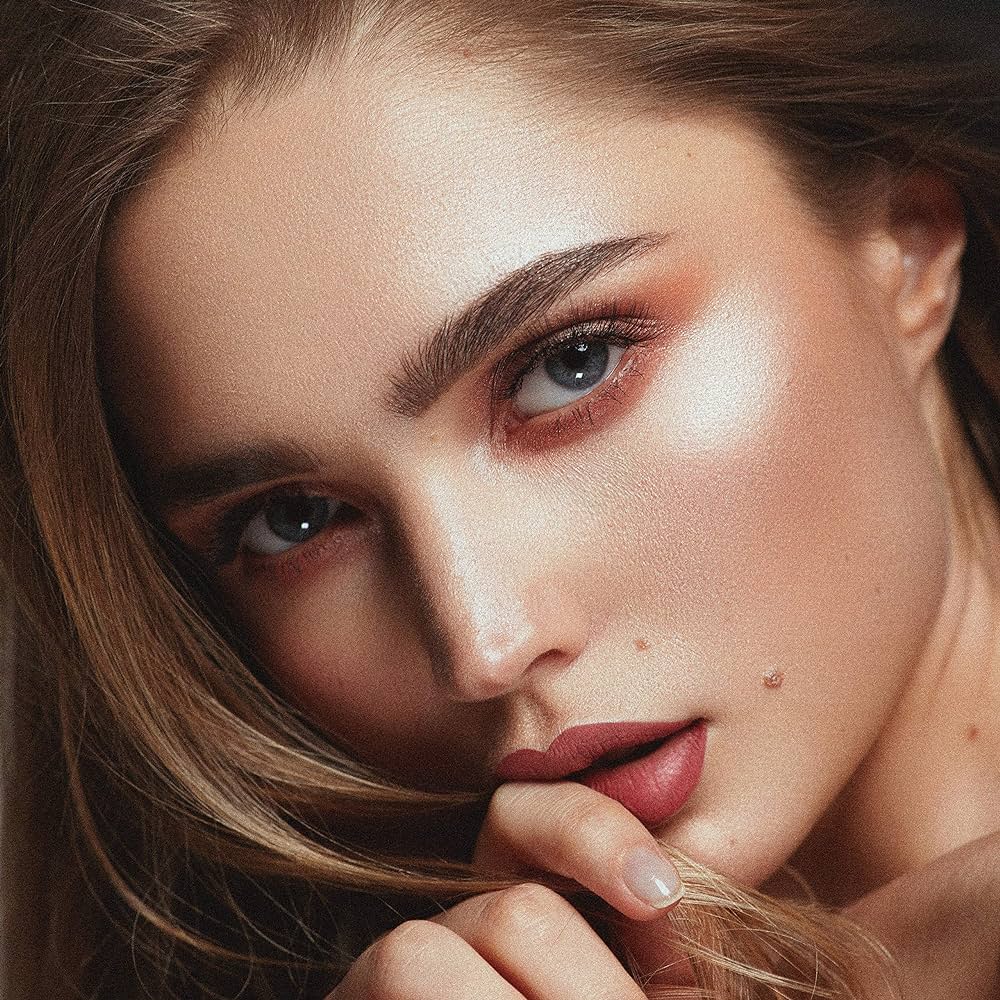
While powders mattifies, using the right technique ensures your face doesn’t end up flat and lifeless. Focus on pressing powder into the t-zone and areas prone to oil and creasing. Use minimal powder around the perimeter of the face and on the apples of the cheeks for a fresh finish.

Conclusion
When used strategically, loose setting powders can transform the look and longevity of your makeup for a professional flawless finish. Selecting the right powder for your skin type lays the groundwork for success. Properly prepping and priming skin first allows for seamless thin application. Tapping off excess powders and using the right tools lets you build coverage where desired without caking. Mastering these powders techniques helps makeup last comfortably from morning to night while keeping your complexion radiant.
Once you learn your perfect powdering routine through practice and experimentation, this finishing step truly elevates a makeup look, ensuring your hard work goes the distance. So don’t be intimidated by the world of loose powders. Now that you have the comprehensive tricks of the trade, you can skillfully harness the beautifying power of this essential product.