Identifying Your Skin Tone: How to Apply Liquid Foundation?
Contents
hide
Choosing the Right Liquid Foundation
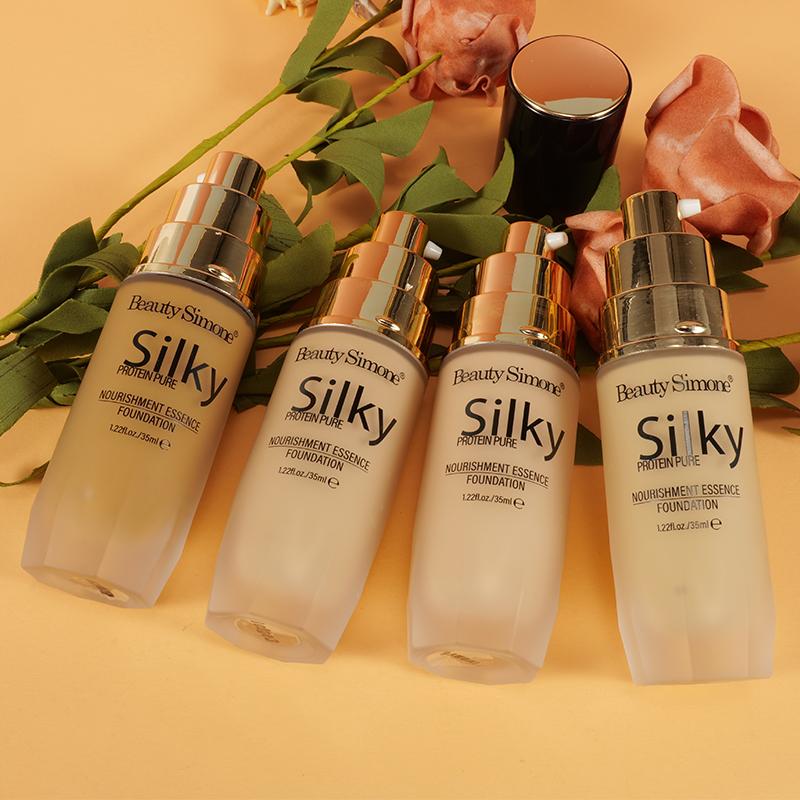
The key to a flawless foundation begins with selecting the right product for your skin. When you’re navigating the world of liquid foundations, it’s critical to know your skin type and what you expect from your foundation; whether it’s full coverage, a dewy glow, or a natural finish. How to apply liquid foundation? Here are steps to help you choose the perfect match.
Identifying Your Skin Tone
Your skin tone plays a vital role in selecting the correct shade of liquid foundation. Generally, skin tones fall into three main categories: light, medium, and dark. Each category can have undertones like cool (pink, red or bluish), warm (yellow, peachy, golden), or neutral. To identify your undertone, look at the veins on your wrist. If they appear blue or purple, you likely have cool undertones; green veins suggest warm undertones, while blue-green veins indicate neutral. Another method is to observe how your skin reacts to the sun; if it tans easily, you might have warm undertones, but if it burns, you’re likely cool-toned.
Testing foundation shades in natural lighting is the best way to find your match. Swipe a small amount on your jawline and blend it out. The right shade will disappear into your skin without looking ashy or overly orange.
Understanding Different Foundation Formulas
Every liquid foundation formula serves a different purpose and works best with specific skin types. Here’s a brief rundown:
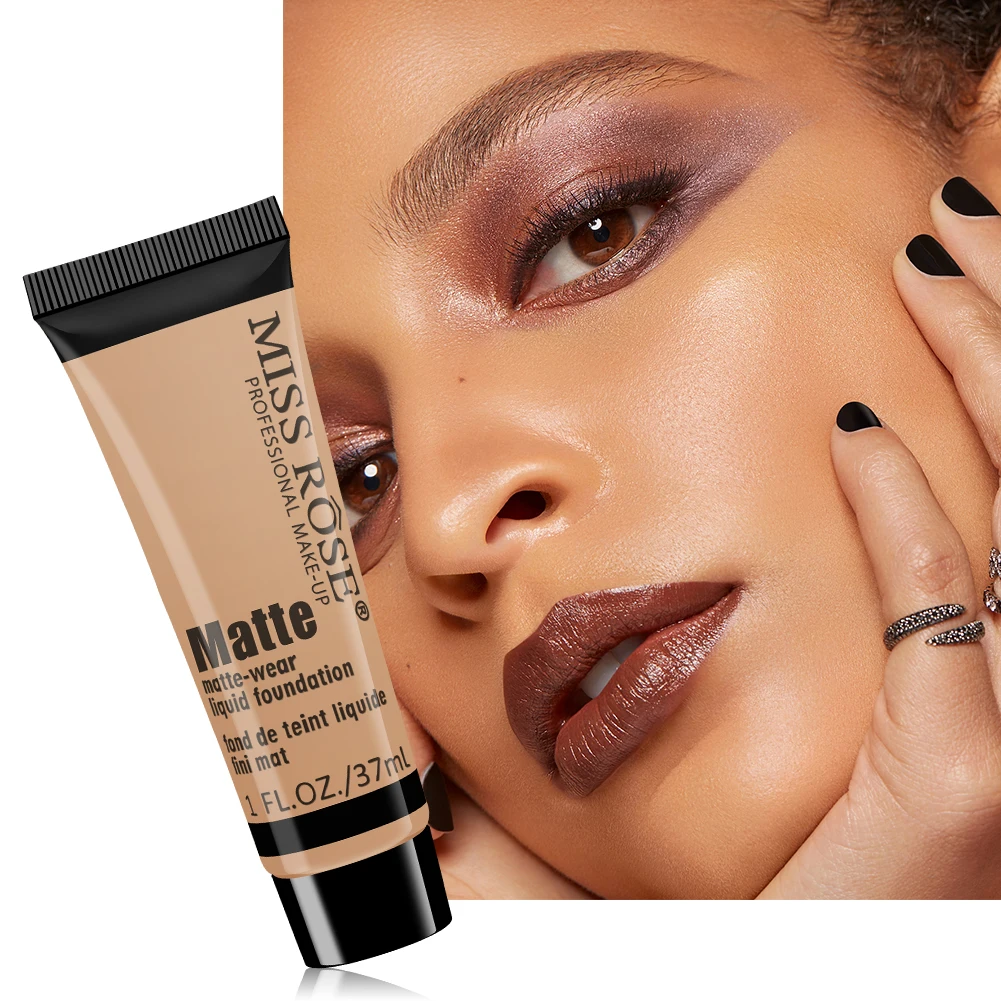
- Mattifying foundations are ideal for oily skin as they help to control shine and typically have a long-lasting, full-coverage finish.
- Dewy finish foundations work well for dry or aging skin, giving a glowing, hydrated appearance.
- Serum foundations provide a lightweight feel with a more natural coverage and are beneficial for sensitive or acne-prone skin due to their gentle formulation.
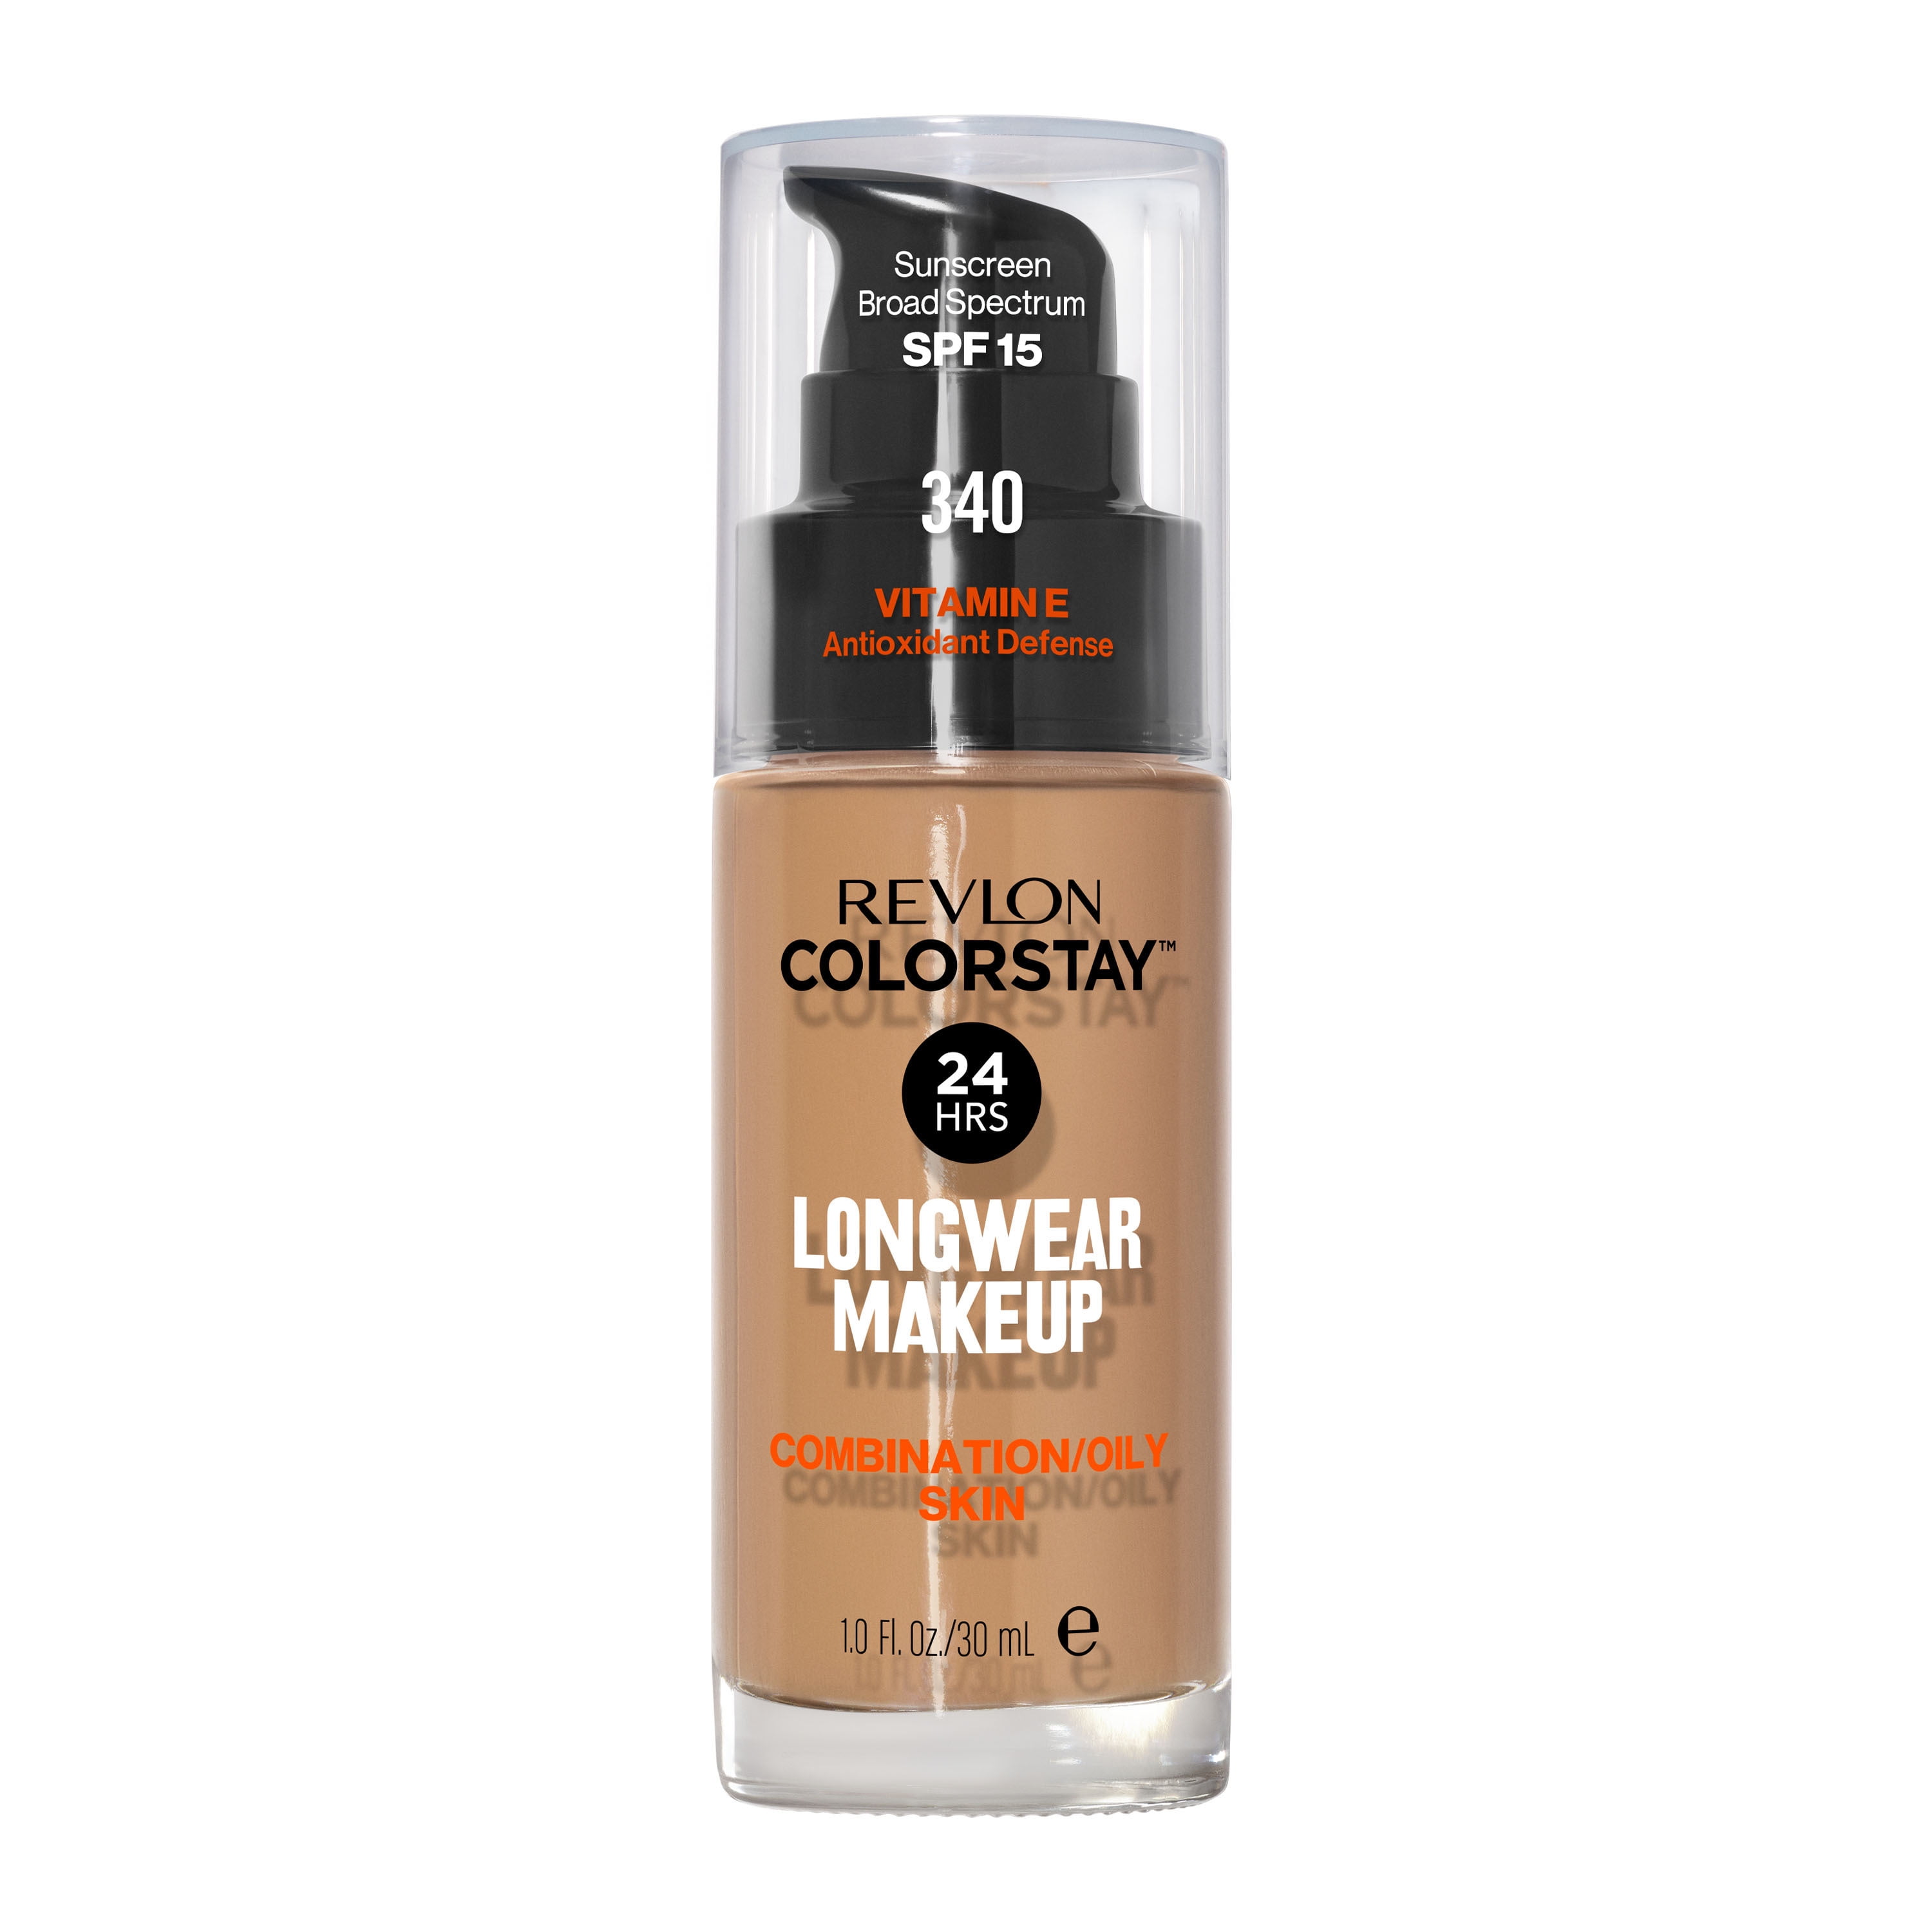
- Long-wear foundations are designed to stay put for extended periods and are suited for combination or oily skin where makeup might easily rub off.
Understanding your skin’s needs and the desired finish will guide you towards the foundation that will work best for you. Remember, how to apply liquid foundation successfully starts with the right base, so take the time to choose wisely.
Preparing Your Skin for Foundation
Before you learn how to apply liquid foundation, it’s vital to prepare your skin properly. This groundwork is crucial for a seamless finish and longer-lasting wear. Start with two essential steps: cleansing and moisturizing, followed by primer application.
Cleansing and Moisturizing
Clean skin is the canvas for your foundation. Use a gentle cleanser to remove dirt, oil, and impurities. Pat your face dry. Next, apply a moisturizer suited for your skin type. For oily skin, opt for a light, oil-free lotion. Dry skin benefits from a richer cream. Let the moisturizer absorb for a few minutes before you move on.
Applying Primer for a Smooth Base
Primer creates a smooth surface for your foundation. It can fill in pores, fine lines, and even out the skin texture. Choose a primer based on your skin concern—mattefying for oily skin, hydrating for dry areas, or color-correcting if needed. Apply a pea-sized amount, focusing on areas where makeup tends to wear off quickly. Allow it to set for a moment. With your skin prepped, you’re ready for precise foundation application.
Tools for Application
Choosing the right tools can make a big difference in how to apply liquid foundation. Different tools offer varied finishes and levels of coverage. You can select from brushes, sponges, or even your fingers based on the look you desire and the type of foundation you use.
Using a Foundation Brush
A foundation brush ensures a smooth, even application. It works well for liquid and cream foundations. Use a flat brush for full coverage. A stippling brush is good for a lighter, airbrushed finish. Start from the center of your face. Blend outwards with gentle strokes for an even coat.
Benefits of a Beauty Sponge
Beauty sponges are perfect for a natural, dewy look. They absorb excess product, preventing a cakey finish. Wet your sponge first. It will grow in size and stop foundation from sinking in. Dab the foundation onto your skin, pressing lightly for a seamless blend. Remember to clean your sponge regularly to avoid bacteria build-up.
When to Use Your Fingers
Your fingers can be great tools, especially for a quick application. The warmth from your hands helps the foundation melt into your skin. This method works well with lighter, serum-like foundations. Put small dots of foundation on your face. Gently tap and blend for a natural finish. Make sure your hands are clean to avoid transferring oils or dirt to your face.
Techniques for Applying Liquid Foundation
Applying liquid foundation correctly is essential for a flawless finish. Here are two popular techniques that ensure even coverage and a natural look.
Dotting Method for Even Coverage
The dotting method is a simple and effective way to apply liquid foundation. First, pour a small amount onto the back of your hand. Use your finger or a brush to dot the foundation across your face. Focus on the forehead, cheeks, nose, and chin. Then, using a beauty sponge or brush, blend the dots outward until they merge seamlessly with your skin. This technique helps to distribute the foundation evenly, resulting in a smooth and consistent finish.
Blending Foundation for a Natural Look
For a natural look, blending is key. Start with a small amount of foundation on your brush or sponge. Use gentle, circular motions to blend the foundation into your skin. Work from the center of your face outwards, paying extra attention to the hairline and jaw to prevent harsh lines. Blending takes time, but patience pays off. It eliminates streaks and lines, leaving you with skin that looks naturally perfect. Remember to blend well around the nose and under the eyes too.
With these techniques, you’ll master how to apply liquid foundation for a beautiful, seamless finish.
Concealer and Foundation: The Perfect Pair
Concealer and foundation together create a flawless complexion. They address different issues and enhance the overall look.
When to Apply Concealer
Apply concealer after foundation for the best effect. This sequence covers imperfections without using too much product. It also helps in blending. Conceal under-eye circles, blemishes, and redness by lightly dabbing on the spots needed.
Blending Concealer with Foundation
To blend concealer with foundation, use a soft brush or sponge. Gently pat the concealer into the skin. Make sure to blend the edges to avoid noticeable lines. This method ensures a seamless transition between foundation and concealer, giving a natural, even finish.

Setting Your Foundation
Setting your foundation is crucial for a lasting, polished look. It helps to prevent smudging and creasing throughout the day. To lock in your liquid foundation, use a setting powder that complements your skin type and tone.
Choosing the Right Setting Powder
Choose a setting powder that matches your skin tone to avoid a chalky look. For oily skin, pick a mattifying powder to reduce shine. Dry skin types should look for a hydrating formula to keep the skin moist. People with sensitive skin can opt for a mineral-based powder, which is often gentler.
Application Tips for Long-Lasting Wear
To apply setting powder, use a fluffy brush for a light, even layer. Press the powder onto areas prone to oiliness, like the T-zone. Apply with a light hand to avoid a cakey texture. For extra staying power, consider a setting spray after powdering. This can also help the makeup blend into the skin more naturally and prolong the wear of your foundation.
Common Mistakes to Avoid
When striving for a flawless finish with liquid foundation, some common pitfalls can hinder the outcome. Paying attention to these mistakes will ensure a more professional and polished look.
Avoiding Cakey Appearance
To avoid a cakey look, start with less foundation and build coverage as needed. It’s essential to hydrate your skin beforehand, as dry patches can cause foundation to clump. Blend thoroughly with the right tools; a damp beauty sponge works wonders for a smooth finish. Set with powder lightly, focusing on the T-zone, and avoid layering too much product.
Matching Foundation to Your Neck
Ensuring your foundation matches not just your face but also your neck is crucial for a natural look. Test shades on your jawline to see how they blend. The ideal shade should seamlessly match both your face and neck without creating a visible line. When applying liquid foundation, blend down to the neck area to achieve a consistent color all over.
Additional Tips for a Flawless Finish
Achieving a flawless finish when applying liquid foundation doesn’t just stop at the initial application. To truly enhance and extend the quality of your makeup, there are a couple of additional steps you can take.
Using Setting Spray for Extra Hold
Setting spray acts like a topcoat for your foundation, locking it in place. For extra hold, apply a light mist after you’ve finished your makeup. Hold the bottle about arm’s length away and spray in an ‘X’ and ‘T’ pattern. This ensures even distribution and can help prevent your makeup from sliding off or fading throughout the day.
Regular Cleaning of Application Tools
Keeping your tools clean is crucial for a smooth application every time. Wash brushes and sponges with gentle soap and warm water once a week. This prevents the spread of bacteria to your skin. Clean tools help in smooth foundation application and can extend the life of your brushes and sponges. Regular maintenance ensures better performance and prevents skin irritations or breakouts from dirty applicators.
