Brush Foundation: Achieving a Flawless Complexion
Contents
hide
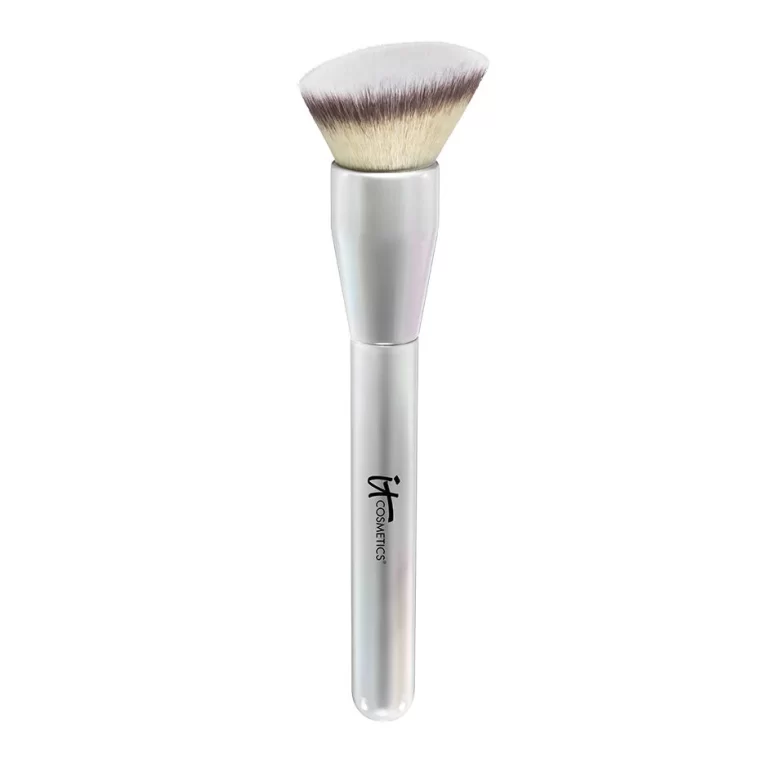
Selecting the Right Foundation Brush
Finding the perfect brush foundation tool isn’t just about brand names. It’s about the bristles, shape, and size. Most makeup artists agree that synthetic bristles work best for liquid foundations. They don’t absorb as much product as natural bristles. Use a flat, tapered brush for a smooth, precise application, or a fluffy, rounded one for sheer, lighter coverage. Larger brushes cover big areas fast. Small detail brushes work for concealer or tight spots. Always choose a brush that fits your foundation type and coverage needs. Remember, the right brush makes a big difference in your brush foundation routine.
Preparing Your Skin for Foundation
Before you dive into your brush foundation routine, it’s crucial to prepare your skin properly. This step ensures that your makeup applies smoothly and lasts longer. Start with a clean face; use a gentle cleanser to remove any dirt and oil. Next, apply a hydrating moisturizer. Wait a few minutes to let it sink into your skin. If you have dry skin, consider using a hydrating primer as well. This gives an extra moisture boost. For oily skin, a mattifying primer can help control shine. Allow the primer to settle in. This usually takes about a minute. Now, your skin is primed and ready for foundation application. Proper skin preparation can help your brush foundation glide on effortlessly and provide a more polished finish.
The Basics of Brush Foundation Application
When applying brush foundation, begin with a small amount of product. Start in the center of your face. Here, coverage is often needed most. Use gentle, downward strokes to blend the foundation outward. This aligns with the way facial hair naturally lays, creating a smoother look.
Point 1: Dip the brush lightly into the foundation. Tap off any excess to avoid caking.
Point 2: Dot the foundation onto your forehead, cheeks, nose, and chin. These are your starting points.
Point 3: With light pressure, blend using circular or sweeping motions. This helps even the product without streaking.
Point 4: Build coverage slowly. Add more product in thin layers if needed. This prevents a heavy, unnatural appearance.
Point 5: Don’t forget to blend into your jawline and neck. This avoids harsh lines and ensures a seamless color transition.
By following these steps, your brush foundation routine will achieve a natural, even base. It sets the stage for the rest of your makeup application.
Techniques for a Flawless Finish
To achieve a flawless finish with brush foundation, unique techniques can make all the difference. Here are some tips:
- Stipple, Don’t Drag: Stippling involves gently tapping the brush on your skin. This action gives a more airbrushed effect. Dragging or pulling can cause streaks.
- Use the Right Motion: Circular motions help to blend the foundation smoothly. For delicate areas like under the eyes, use dabbing motions instead.
- Edge Out: Pay attention to the edges of your face. Blend well near your hairline, ears, and jawline to avoid visible makeup lines.
- Layer Thoughtfully: If you need extra coverage, apply additional layers of brush foundation. But, always layer thin amounts to maintain a natural look.
- Set Your Base: After applying foundation, set it with a loose powder. This helps to lock in your makeup and reduces shine.
- Check Your Lighting: Always check your makeup in different lighting. Natural light is best to spot any missed spots or blending errors.
By mastering these techniques, your brush foundation routine will leave you with a smooth, even complexion that looks effortless and lasting.
Building Coverage with Brush Foundation
To build coverage with your brush foundation, start with light layers. Apply more as you go, aiming for a natural look. Here’s how:
- Begin with a Base: Start with a thin layer of foundation. Spread it evenly across your face.
- Add Layers Gradually: If you notice areas that need more coverage, apply extra foundation sparingly. Use a tapping motion to avoid heaviness.
- Spot Correct: Use a smaller brush for targeted areas. This could be blemishes or redness.
- Blend Between Layers: Ensure each layer blends well before adding the next. This helps maintain an even complexion.
- Balance is Key: Strive for coverage that balances out imperfections while keeping the skin looking natural.
By using these steps, you can create the desired foundation coverage without a cakey finish.
Blending and Contouring with Foundation Brushes
Blending and contouring are essential in creating a dimensional and natural-looking face makeup. Here’s how to master these techniques using your brush foundation tools:
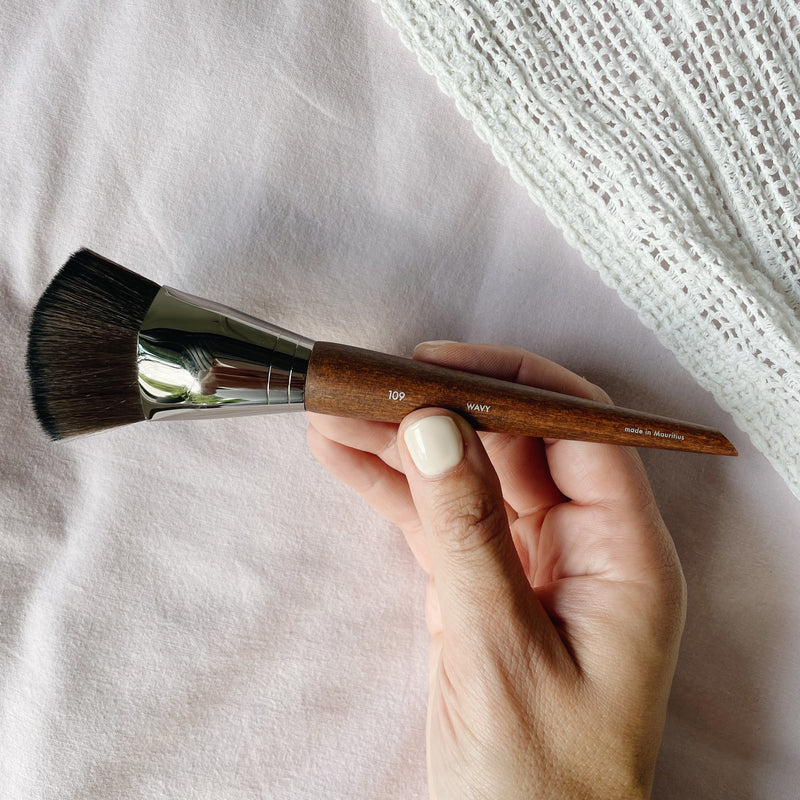
- Choose the Right Brush: For blending and contouring, use brushes with a dense but soft bristle. Angled brushes work well for sharp contours.
- Start with a Contour Shade: Before blending, apply the contour shade to the hollows of your cheeks, jawline, and forehead.
- Blend Upwards: Always blend contour upwards to lift the appearance of your face. Use gentle, circular motions.
- Connect Areas: Ensure a natural look by connecting contour areas. Blend into the hairline and below the jaw.
- Highlight with Light: Apply a lighter shade above the cheekbones, center of the forehead, and chin to highlight.
- Blend Highlight Softly: Use a clean brush to blend highlight into your base brush foundation. Avoid harsh lines.
- Final Touches: After blending, step back and check your work in natural light. Make any necessary adjustments.
By using these steps, you can enhance your features with skillful blending and natural-looking contours. Remember to clean your brushes after to keep them in prime condition for your next brush foundation routine.

Maintaining Your Foundation Brushes
Caring for your brush foundation tools is key for both hygiene and performance. Here’s what you need to do:
- Clean Regularly: Makeup brushes can harbor bacteria, leading to breakouts. Clean them weekly with a gentle brush cleaner or baby shampoo.
- Rinse Thoroughly: After cleaning, rinse brushes under lukewarm water. Ensure all soap gets out to prevent residue.
- Dry Correctly: Lay brushes flat on a towel after washing. Let them air dry completely. Avoid standing them up right away to prevent water from loosening the glue at the base.
- Reshape Bristles: While damp, reshape the brush bristles gently with your fingers. This keeps the brush in good condition for your next use.
- Storage Matters: Keep your brushes in a dry, cool place. Store them upright in a holder or lay them flat in a drawer. This prevents bristle damage and keeps them clean.
- Avoid Sharing: It’s tempting to lend out makeup tools, but for hygiene, use your brushes alone. This reduces the spread of germs.
- Replace When Needed: Over time, brushes get worn out. If you notice shedding or the bristles losing shape, it’s time for a new brush.
Regular maintenance isn’t just about hygiene; it ensures your brushes continue to provide the perfect brush foundation application. Taking care of your tools means better skin health and makeup application.

Common Mistakes to Avoid with Brush Foundation Application
When perfecting your brush foundation routine, steering clear of a few common pitfalls can make a big difference. Here are some mistakes to watch out for:
- Using the Wrong Brush: Picking a brush that’s not designed for your foundation type can ruin your application. Ensure your brush matches the foundation formula you’re using.
- Skipping Skin Prep: Never jump straight to foundation without prepping your skin first. Always cleanse, moisturize, and prime for the best results.
- Overloading the Brush: Applying too much foundation to the brush leads to caking. Use a light hand and build coverage gradually.
- Ignoring Blending: Proper blending is essential. Pay attention to your jawline, hairline, and neck to avoid harsh lines.
- Forgetting to Set Your Makeup: Not setting your foundation can cause it to slide or wear off quickly. Use a setting powder to increase longevity.
- Neglecting Harsh Lighting Checks: Always check your foundation under different lights. This helps you catch and fix any streaks or uneven spots.
- Poor Brush Hygiene: Not cleaning your brushes can cause breakouts and poor application. Clean them regularly to keep your skin and makeup flawless.
- Using a Damaged Brush: Worn-out brushes can’t apply makeup well. If bristles are shedding or misshapen, it’s time for a replacement.
By sidestepping these errors, you can ensure a more professional and clean brush foundation look. Consistency and proper technique will serve you well in achieving a flawless face every day.

The Best Practices for Using Brush Foundation
Employing best practices for applying foundation with a brush can transform the makeup routine. Developing a consistent process promotes effective results and enhances the overall experience. First, start with clean brushes to prevent contamination and ensure smooth application. Using a freshly cleaned brush will yield better coverage and promote skin health.
Before beginning the application, prepare the skin thoroughly. Cleansing, toning, and moisturizing help create a smooth surface for makeup. Choosing the right products based on skin type will enhance the foundation application experience. For dry skin, opt for hydrating products, while oily skin can benefit from mattifying formulas.
Select a foundation that matches your skin tone perfectly. A well-matched foundation ensures a seamless blend with the natural complexion. Testing the foundation on the jawline can help determine the best shade.
When applying the foundation, utilize gentle motions to blend the product into the skin. Avoid using excessive pressure, as this may cause irritation or unevenness. Instead, work from the center of the face outwards for a more balanced look. By focusing on specific areas, it allows for more control over coverage.
Finally, finish the makeup routine with a setting spray or powder. This step helps lock in the foundation and prolongs wear throughout the day. Following these best practices ensures a flawless makeup application with a brush foundation.