Mastering Foundation Application with Buffing Brush
The Importance of the Right Brush for Foundation Application
Choosing the right brush for foundation is vital for a polished look. The foundation buffing brush, for instance, can make a huge difference in your makeup routine. Let’s delve into why the right brush is crucial for foundation application.
A proper brush ensures even distribution across your face. This leads to a smoother finish without streaks or lines. The foundation buffing brush excels in this area. It helps blend the product seamlessly, giving a natural effect. Moreover, a good brush minimizes product wastage. It allows you to use less foundation for greater coverage. This is both cost-effective and better for your skin, as heavy layers can clog pores.
The materials of the brush also affect the application. Synthetic bristles work well with liquid foundations, and they are allergy-friendly. On the other hand, natural bristles might offer a softer touch but can vary in quality.
In conclusion, investing in a high-quality foundation buffing brush is a smart move. It improves application, saves you money in the long run, and can support better skin health. Remember to pick one that matches the foundation formula you prefer to use most often.

Types of Buffing Brushes and How to Choose
When it comes to foundation buffing brushes, variety abounds. You must pick the right sort for your skin and foundation type. Here are some common types and tips to help you choose:
- Flat Top Buffing Brushes: Ideal for full coverage, these brushes work well with thicker liquid foundations. Their dense bristles allow for buffing the foundation into the skin easily.
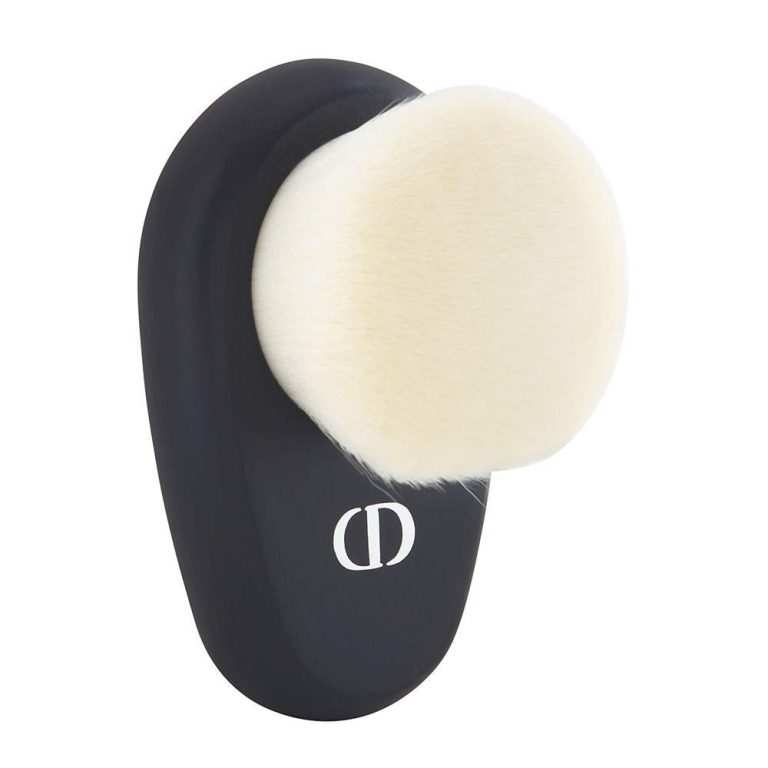
- Round Buffing Brushes: These have a rounded top. They are better for a natural, airbrushed look. They can seamlessly blend foundation without leaving harsh lines.
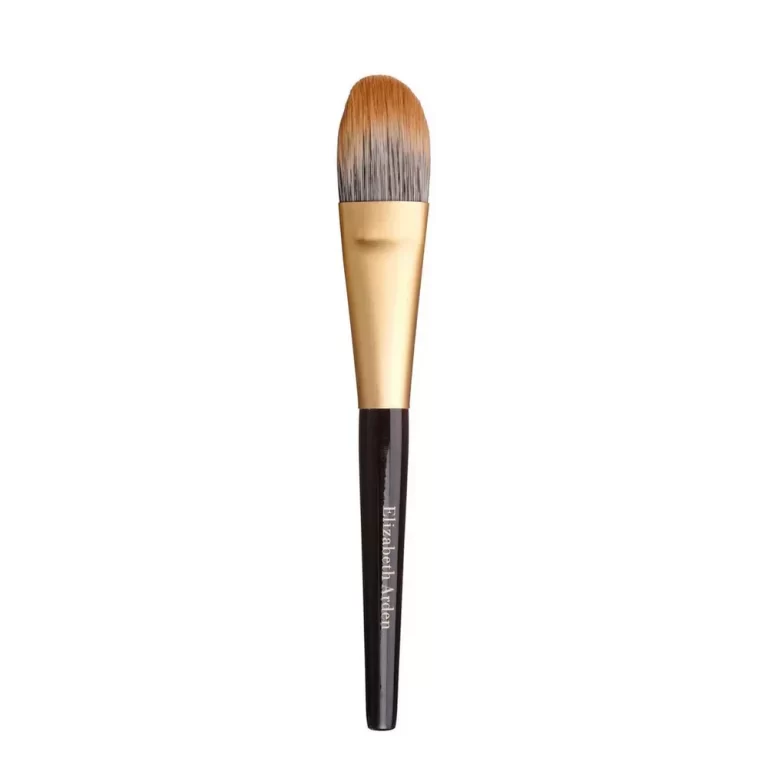
- Angled Buffing Brushes: Angled brushes help with precision. They can reach the contours of the face like around the nose and under the eyes with ease.
- Dome-Shaped Buffing Brushes: These are versatile brushes. They blend liquid and powder foundations well. Their shape fits the curves of the face, making application simple.
Selecting the best foundation buffing brush comes down to a few key factors:
- Foundation Type: Use synthetic bristles for liquid foundations. They don’t absorb as much product. Natural bristles are good for powders.
- Coverage Desired: For full coverage, choose a flat top. For lighter coverage, a round buffing brush will do.
- Skin Type: If you have sensitive skin, opt for synthetic, softer bristles. They are less likely to irritate.
- Ease of Use: Consider your skill level. Beginners may prefer a brush that is easy to maneuver, like the dome-shaped brushes.
Remember to test brushes when possible. Feel the bristles against your skin and consider your specific needs. Making the right choice in a foundation buffing brush can elevate your makeup routine significantly.
Step-by-Step Guide to Applying Foundation with a Buffing Brush
Applying foundation with a buffing brush can give you a flawless complexion. To achieve this, follow these simple steps:
- Start with a Clean Face: Ensure your face is clean and moisturized. This helps the foundation to go on smoothly.
- Apply Primer: Use a primer to create a smooth canvas. It helps to extend the wear of your foundation.
- Dab Foundation on Your Skin: Put a few dabs of foundation on your forehead, cheeks, and chin. This ensures even coverage.
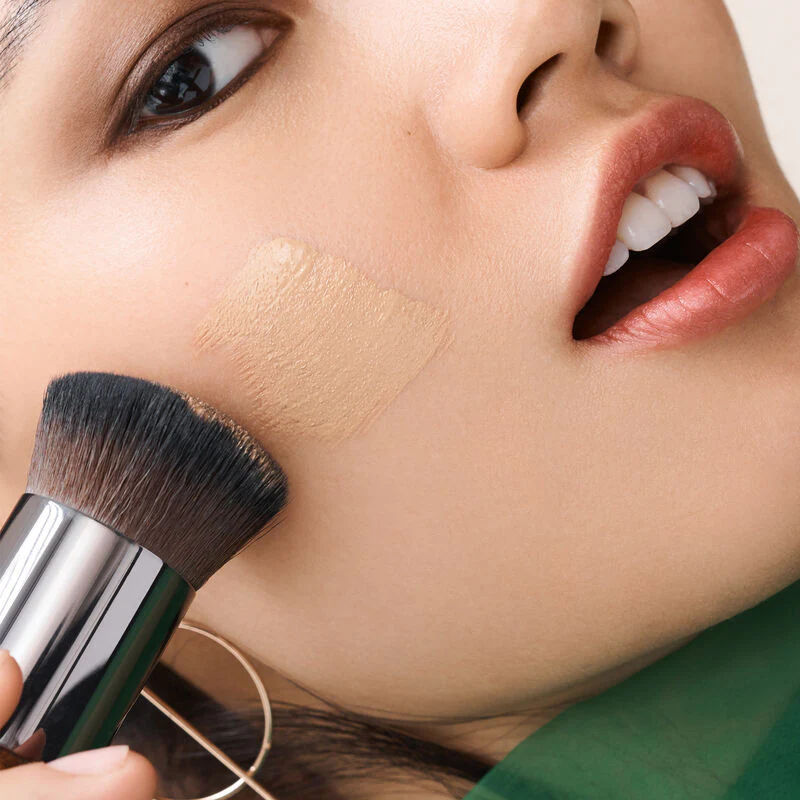
- Buff in Circular Motions: Pick up your foundation buffing brush. Use small circular motions to blend the foundation into your skin. Start from the center of your face and work outwards.
- Build Coverage as Needed: If you need more coverage, apply another light layer. Buff each layer before adding the next.
- Blend to Perfection: Pay extra attention to the hairline and jawline. Make sure there are no obvious lines or streaks.
- Set with Powder if Desired: If you want to set the foundation, lightly dust setting powder over your face with a clean brush.
With these steps and the right foundation buffing brush, you will get an even and natural-looking finish. Remember to wash your brush regularly to keep it clean and free of bacteria.
Tips for Achieving a Flawless Finish with Buffing Brushes
Achieving a flawless finish with a foundation buffing brush isn’t just about the tools you use; technique matters, too. Here are some tips to get that perfect, airbrushed look with your foundation buffing brush.
- Use Light Pressure: Pressing too hard can leave brush marks. Use light, gentle motions instead.
- Buff in One Direction: Swirling in multiple directions can lead to an uneven application. Choose one direction and stick to it.
- Less is More: Begin with a small amount of foundation. This way, you build coverage without heaviness.
- Consistency is Key: Keep your motions consistent. This helps with even blending and a natural finish.
- Work in Sections: Divide your face into sections. Buff each section thoroughly before moving to the next.
These techniques, combined with a high-quality foundation buffing brush, can help you achieve that sought-after flawless finish. Remember to practice; the more you use your buffing brush, the better your technique will become. And don’t forget: clean your brush regularly to avoid breakouts and to keep it in top condition for your makeup routine.
How to Clean and Maintain Your Buffing Brushes
Maintaining your foundation buffing brush is essential for its longevity and for a hygienic makeup application process. Here is a straightforward guide to cleaning and preserving the quality of your brushes:
- Wet the Bristles: Hold the brush under lukewarm water. Aim to wet only the bristles to avoid damaging the handle.
- Apply Cleanser: Use a gentle soap or a specialized brush cleaner. Apply it to the fibers and gently massage.
- Rinse Thoroughly: Wash out the cleanser under running water. Continue until the water runs clear.
- Squeeze Out Excess Moisture: Carefully squeeze the bristles to remove excess water. Avoid pulling or twisting the fibers.
- Reshape and Dry: Lay the brush flat on a clean towel to dry. Reshape the bristles to their original form.
- Avoid Heat: Don’t use a blow dryer or place brushes in direct sunlight. This can damage the brush.
- Deep Clean Regularly: Schedule a weekly deep clean, especially if you use your brush daily. This will ensure the removal of built-up product.
- Store Properly: Keep your brushes in a dry, ventilated space. Consider using a brush holder or guard to maintain their shape.
By following these steps, you can extend the life span of your foundation buffing brush and ensure it always creates a flawless foundation finish. Regular maintenance also helps prevent skin irritation or breakouts from bacteria buildup.
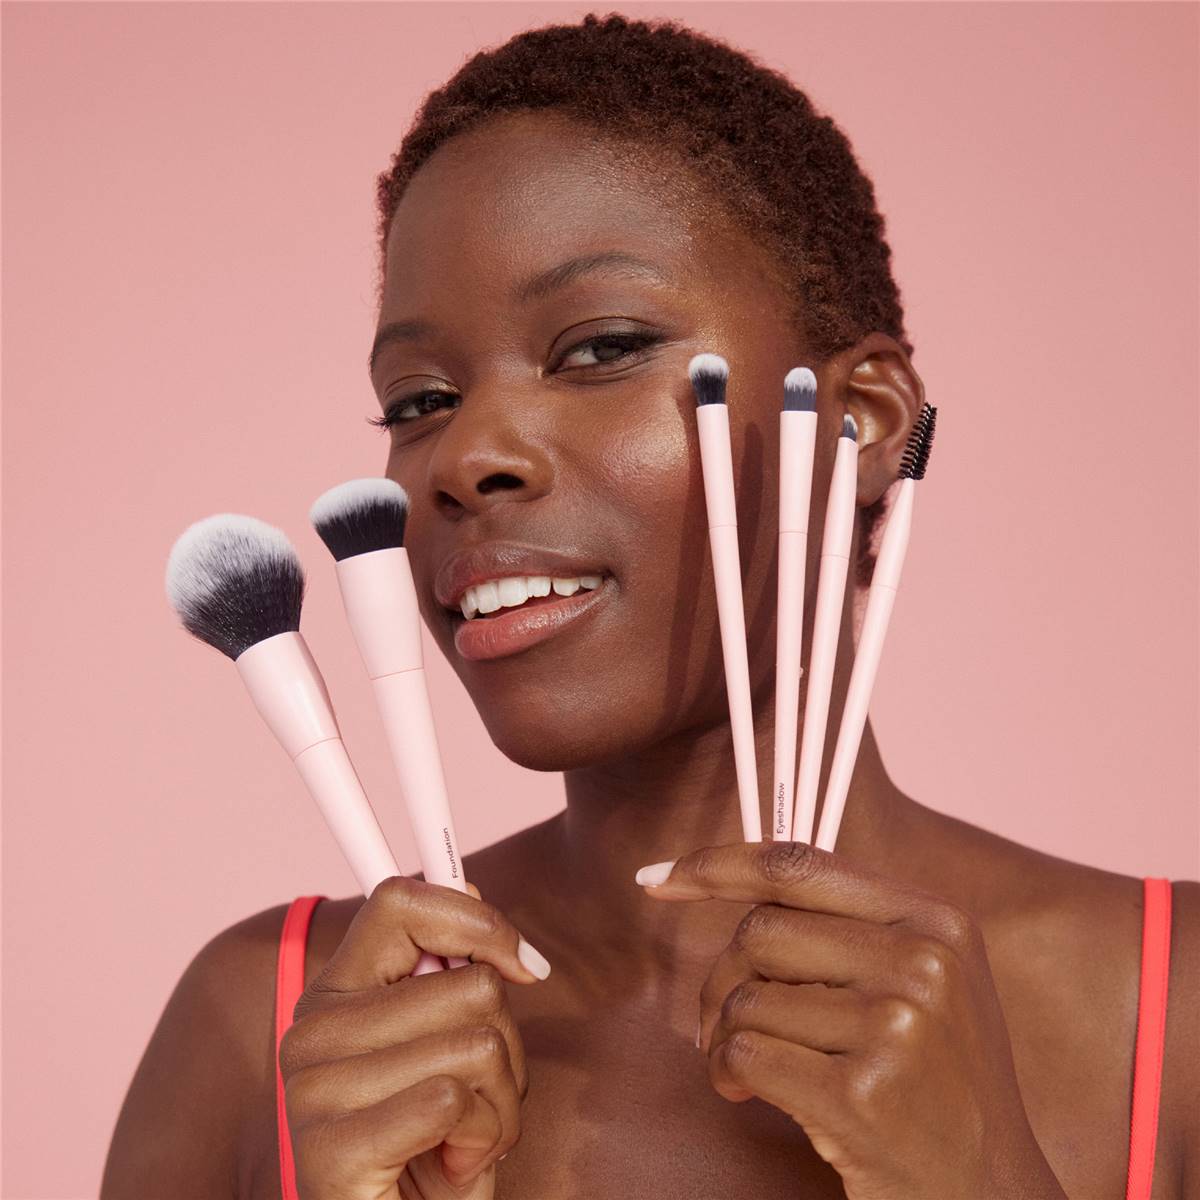
Buffing Brush Techniques for Different Foundation Formulas
Selecting the ideal foundation buffing brush technique hinges on the foundation formula you favor. Here’s how to expertly apply different foundation types using a buffing brush:
- For Liquid Foundations: Start with a small amount. Use a flat top or dome-shaped foundation buffing brush for full coverage. Buff in gentle, circular motions for a smooth finish.
- For Cream Foundations: Opt for a denser brush. This allows for more control during application. Blend using upward strokes for a seamless look.
- For Powder Foundations: A fluffy, natural bristle brush is perfect. Use light, sweeping motions. This will help distribute the powder evenly without caking.
- For Stick Foundations: Choose a firm, angled brush. It helps to blend the thicker formula easily. Apply in sections and buff out for an even layer.
Irrespective of the foundation type, ensure to blend well around the nose, eyes, and jawline. This promotes an uninterrupted canvas and a natural, polished result. Remember practice will make your application smoother and increase your skill with the foundation buffing brush.
The Role of Brush Density and Shape in Foundation Application
The density and shape of your foundation buffing brush play a pivotal role in your makeup outcome. Let’s explore why these factors are significant.
Brush Density: The density of bristles affects how the foundation sits on your skin. Denser brushes, often with flat tops, provide fuller coverage. Meanwhile, brushes with less density give lighter coverage and are more suited for a natural look. The key is to use denser brushes for areas requiring more attention and lighter ones for an overall smooth finish.
Brush Shape: The shape of the foundation buffing brush determines the ease of application. For instance, round brushes are great for a soft, airbrushed effect. Angled brushes reach tricky spots like the sides of the nose or under the eyes. Dome-shaped brushes adapt well to the face’s curves, offering an effortless application experience.
Your choice in a foundation buffing brush’s density and shape should stem from the desired finish and convenience in use. It’s essential to consider these aspects when selecting the perfect tool for your foundation application. Practice with different types and find the best fit for your routine.
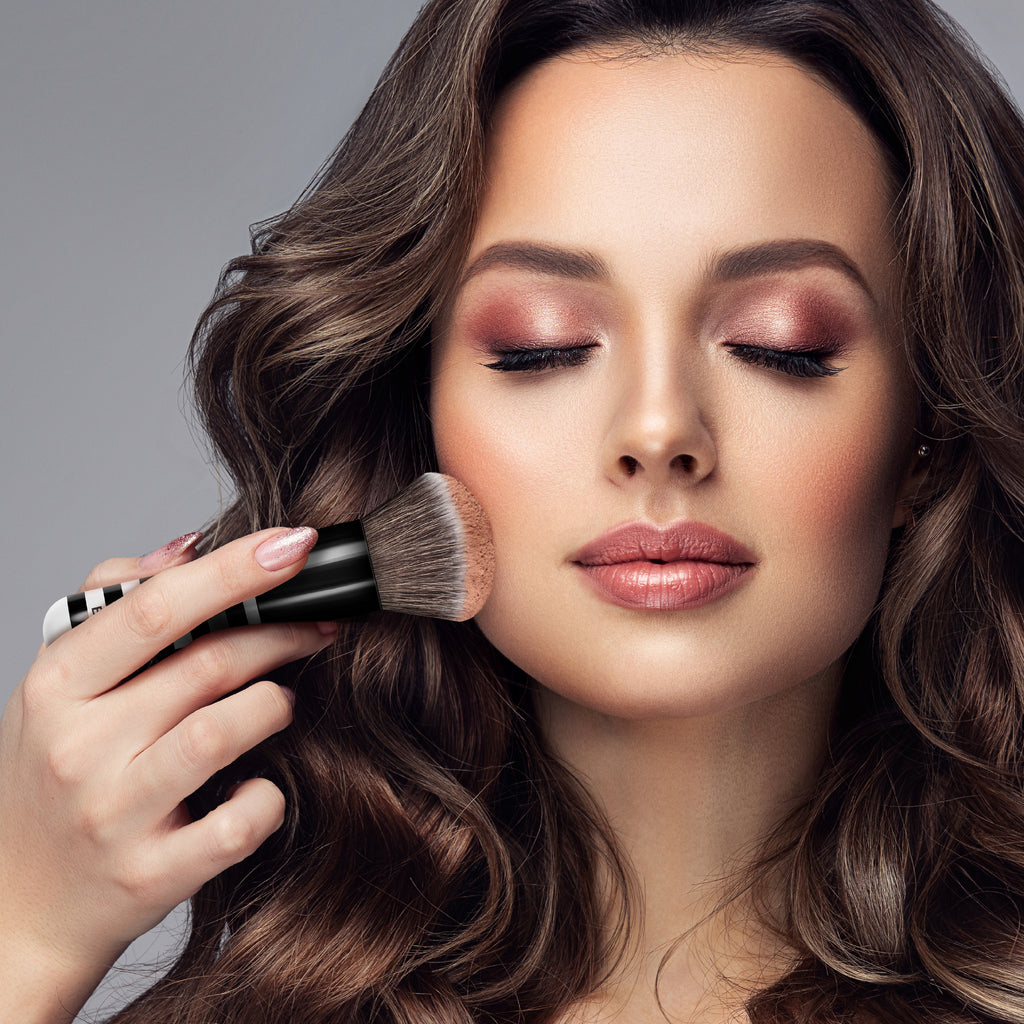
Buffing Brushes vs. Other Application Tools: Pros and Cons
When applying foundation, not only the type of foundation matters but also the tool you use. Here’s a look at how foundation buffing brushes compare with other application tools:
- Pros of Buffing Brushes:
- Provide even and full coverage.
- Can create a smooth, airbrushed finish with practice.
- Versatile, suitable for liquid, cream, and powder foundations.
- Good for blending foundation seamlessly into the skin.
- Brushes with various shapes and densities are available for specific needs.
- Cons of Buffing Brushes:
- May require more effort to clean and maintain.
- Regular washing necessary to prevent bacterial build-up.
- Possible bristle shedding in lower-quality brushes.
- Can be difficult to use without the right technique.
Other tools like sponges, fingers, or paddle brushes also have their own advantages and downsides. For example, sponges offer a dewy finish but may absorb more product. Using fingers is convenient but might not achieve the same level of blending. Paddle brushes are great for a smooth layer but might leave streaks. The key is to consider what finish you desire and choose the tool that will help you achieve that look. Whether you choose a foundation buffing brush or another tool, knowing the pros and cons can guide you to a perfect foundation application.
