Concealer Contouring: A Step-by-Step Guide
Contents
hide
Introduction to Concealer Contouring
Contouring with concealer is an effective way to subtly enhance your facial features. Done right, it can create an illusion of more defined cheekbones, a slimmer nose, and an overall more chiseled appearance. The technique leverages lighter and darker shades of concealer to highlight and shadow specific areas of the face. Can you use concealer as contour?Understanding the basics of this method is key to a natural and polished look.
Here’s a simple guide to get started with concealer contouring:
- Choose concealers: Select a concealer for highlighting that’s two shades lighter than your skin. For shadows, go two shades darker.
- Identify areas: For highlighting, target your forehead, under-eye, and chin. For contouring, focus on the sides of your nose, below cheekbones, and jawline.
- Blend thoroughly: Seamless blending is critical. Use a makeup sponge or brush to merge the concealers into your base foundation.
- Set your makeup: Lock in your contour with a setting powder to ensure it lasts all day.
Contouring with concealer can be as subtle or dramatic as you prefer. It’s all about preference and occasion. Remember, practice makes perfect, so don’t hesitate to experiment to find what works best for you.
Selecting the Perfect Concealer Shades
Choosing the right concealer shades is crucial for an impeccable contouring effect. Can you use concealer as contour? Here’s what to remember:
- Match your skin tone: For a natural look, always pick a concealer that matches your skin tone.
- Highlighting choices: Select a lighter concealer, about two shades above your skin tone. This will brighten areas like under your eyes and forehead.
- Contouring colors: A darker concealer, two shades below your skin tone, will add depth to your contour.
- Texture matters: Consider the type of concealer. Cream or liquid types blend well and are ideal for contouring.
- Matte finish: Aim for a matte concealer, especially for contouring. It avoids unwanted shine and looks more natural.
When testing concealers, apply them on your jawline. The right shades will blend seamlessly with your skin. If you can, check the colors in natural light for the best match. Use less product to start; you can always add more. Proper shade selection is the foundation of a successful contouring routine. Practice and patience will help you master this step and elevate your makeup skills.
Mapping Out Contour and Highlight Areas
Before you start contouring, it’s essential to map out the areas you want to accentuate or recede. Can you use concealer as contour? To highlight, you’ll focus on zones where light naturally hits your face. Think about the middle of your forehead, under the eyes, down the bridge of the nose, cupid’s bow, and the center of your chin. For contouring, target areas to create the illusion of shadows. This means below your cheekbones, along the sides of your nose, and the perimeters of your forehead.
Here’s a quick guide on how to map effectively:
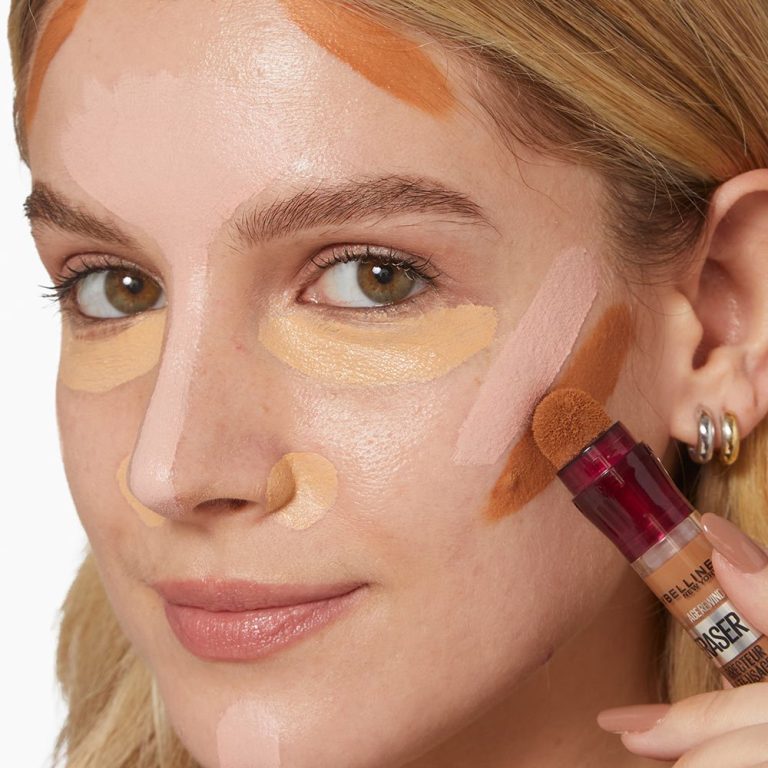
- Highlight: Apply lighter concealer in the center of your forehead, under your eyes in an inverted triangle shape, along the bridge of your nose, above your cupid’s bow, and on the chin.
- Contour: With the darker concealer, draw lines below your cheekbones, on the sides of your nose, and along your hairline on your forehead. Don’t forget a little contour under your jawline for definition.
Remember, the mapping should match your face shape. Different shapes require different contouring approaches. For example, if you have a round face, you might wish to contour the sides of your face to make it appear more oval. Conversely, those with more angular faces may focus on softening edges with strategic highlighting.
After mapping out these areas, it’s critical to blend thoroughly to avoid any harsh lines. Blending will be your best friend in ensuring a believable and beautiful contour and highlight. The goal is to enhance your features subtly, not redraw them. Use the mapping as a guideline and adjust as you blend to suit your unique face shape and features.
Expert Techniques for Contouring with Concealer
Can you use concealer as contour? Contouring with concealer isn’t just about applying color; it’s about strategic placement and blending. To help you master this makeup method, follow these step-by-step techniques for a refined look.
Choose the Right Tools
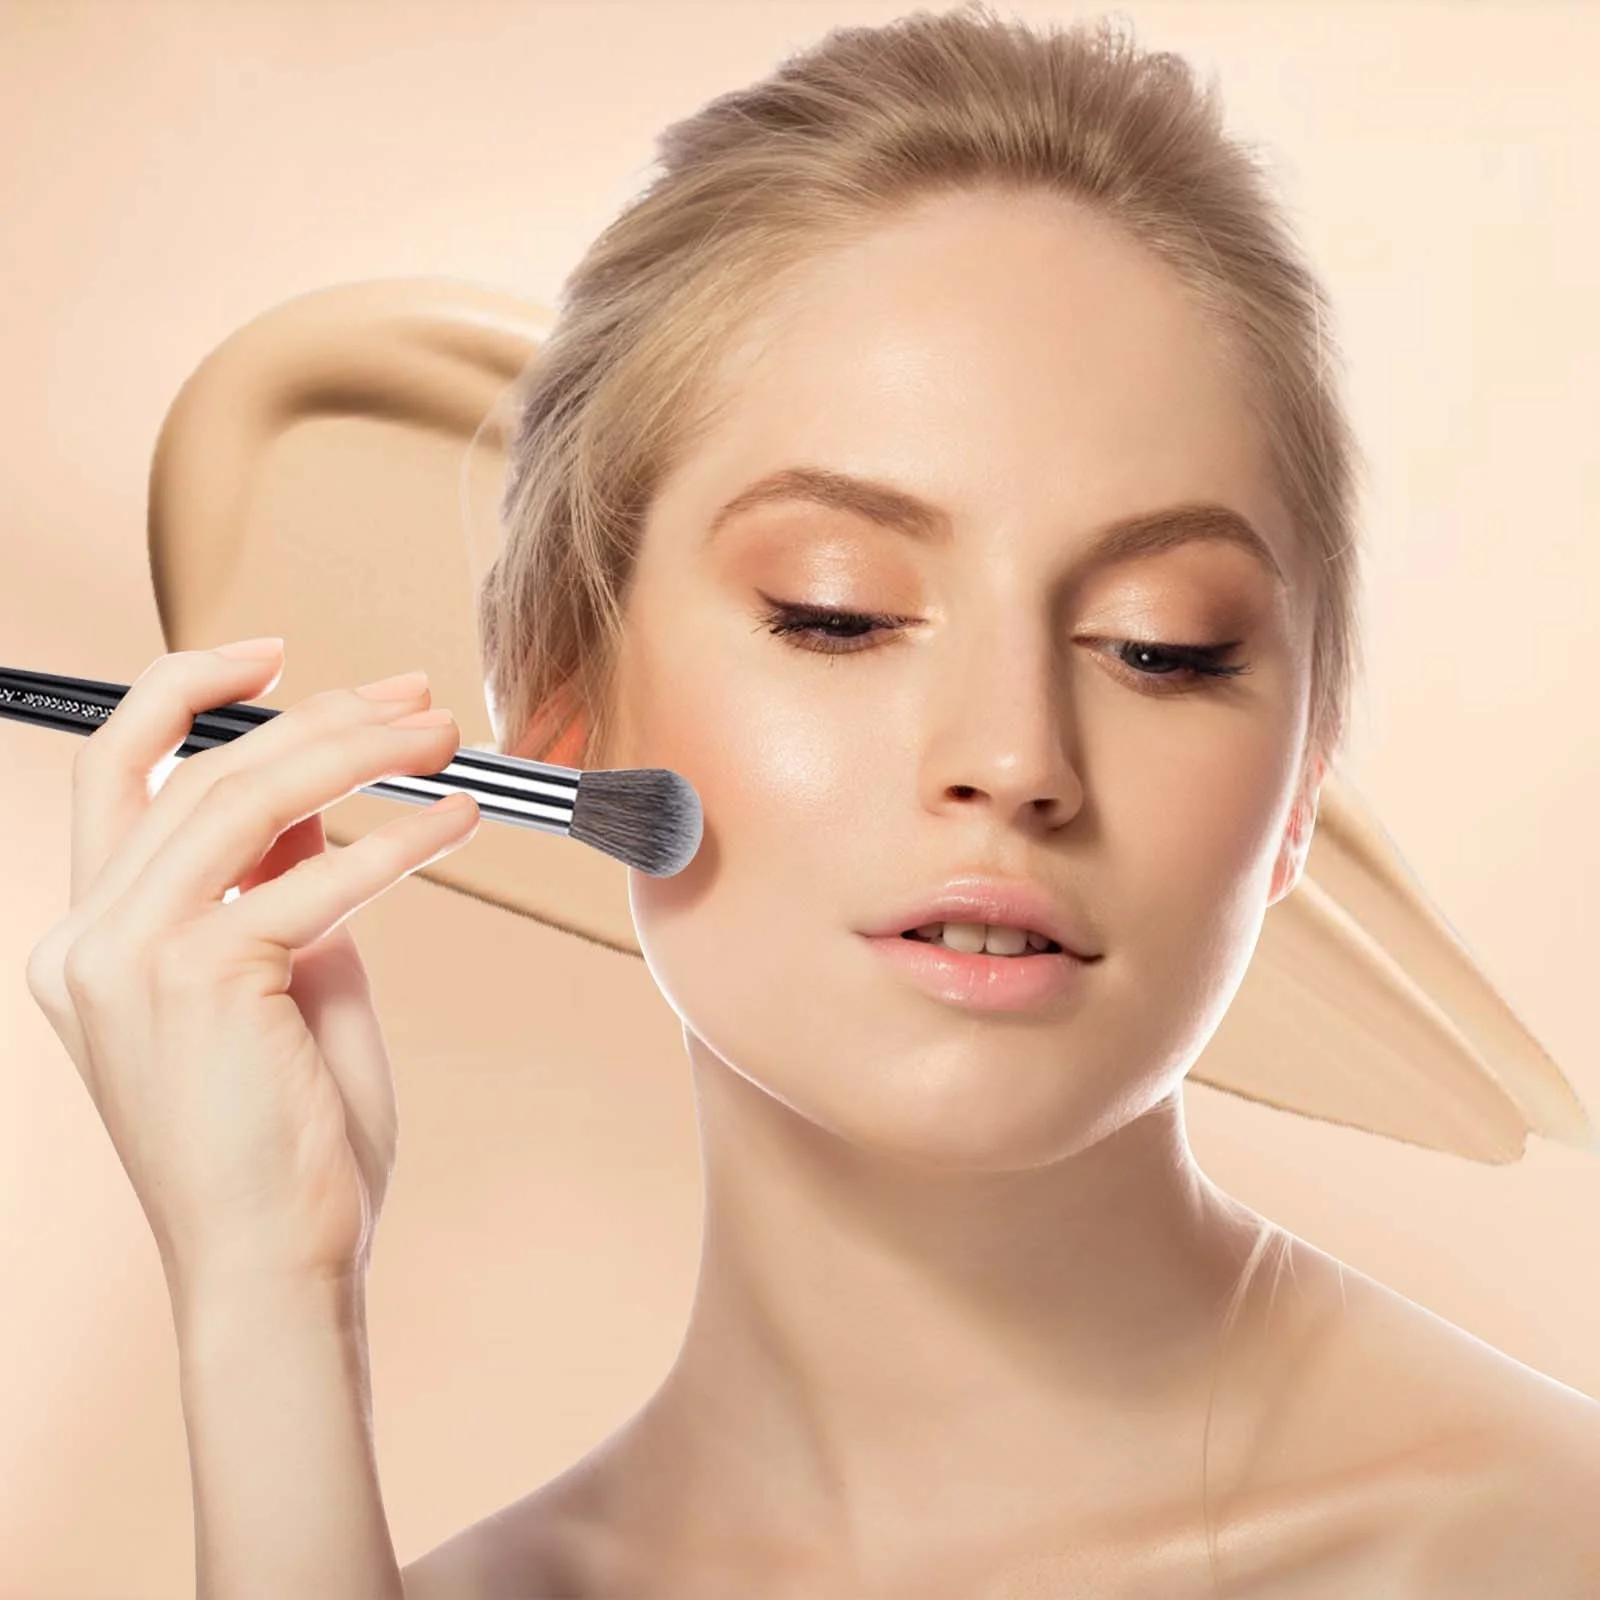
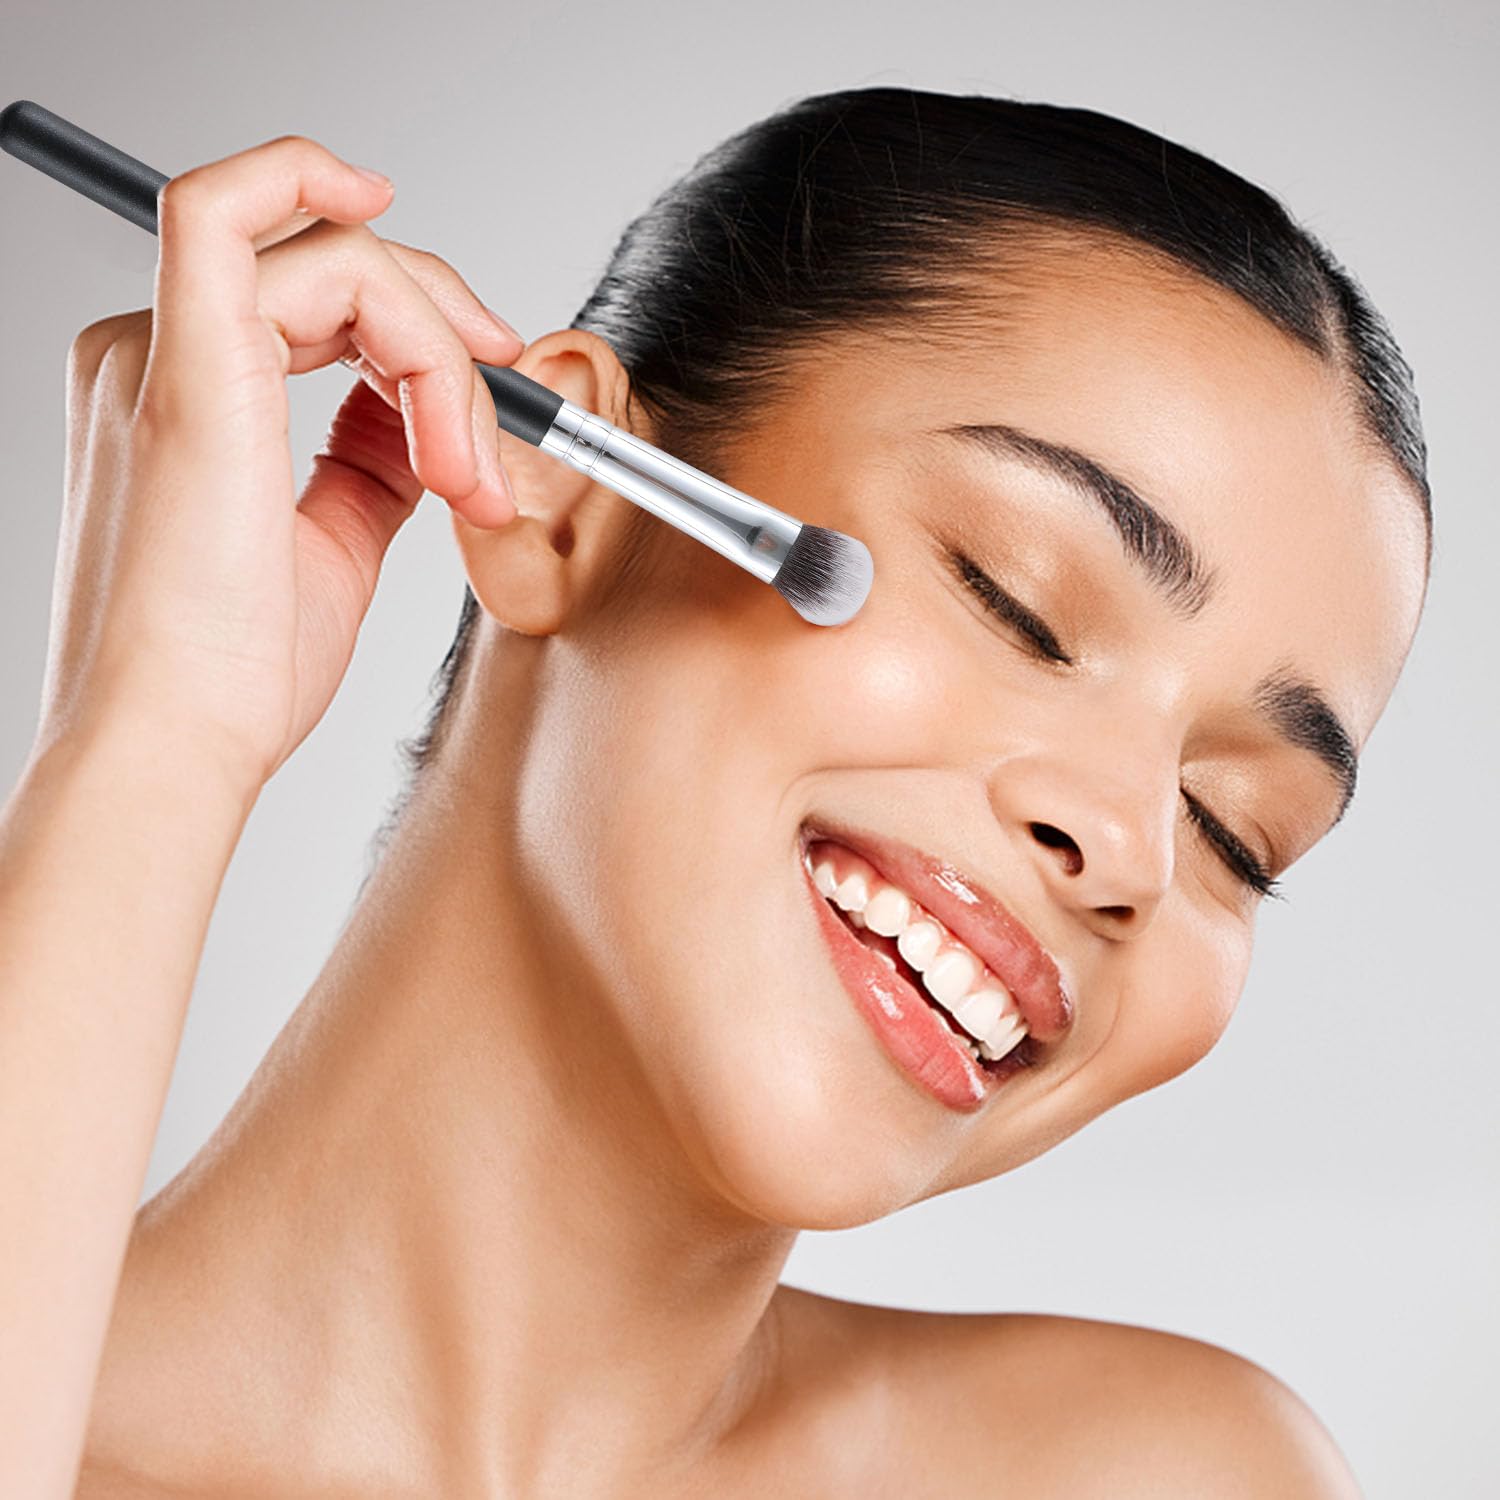
Always start with the right tools. A small angled brush offers precision for dark shades. A fluffy brush or a beauty sponge works well for blending.
Lightly Draw Your Contour Lines
Use the darker concealer to draw lines beneath your cheekbones, your jawline, and the sides of your forehead. For your nose, use a thinner brush.
Keep a Steady Hand
Apply the concealer with soft, steady strokes. This ensures lines are straight and even, making for easier blending later on.
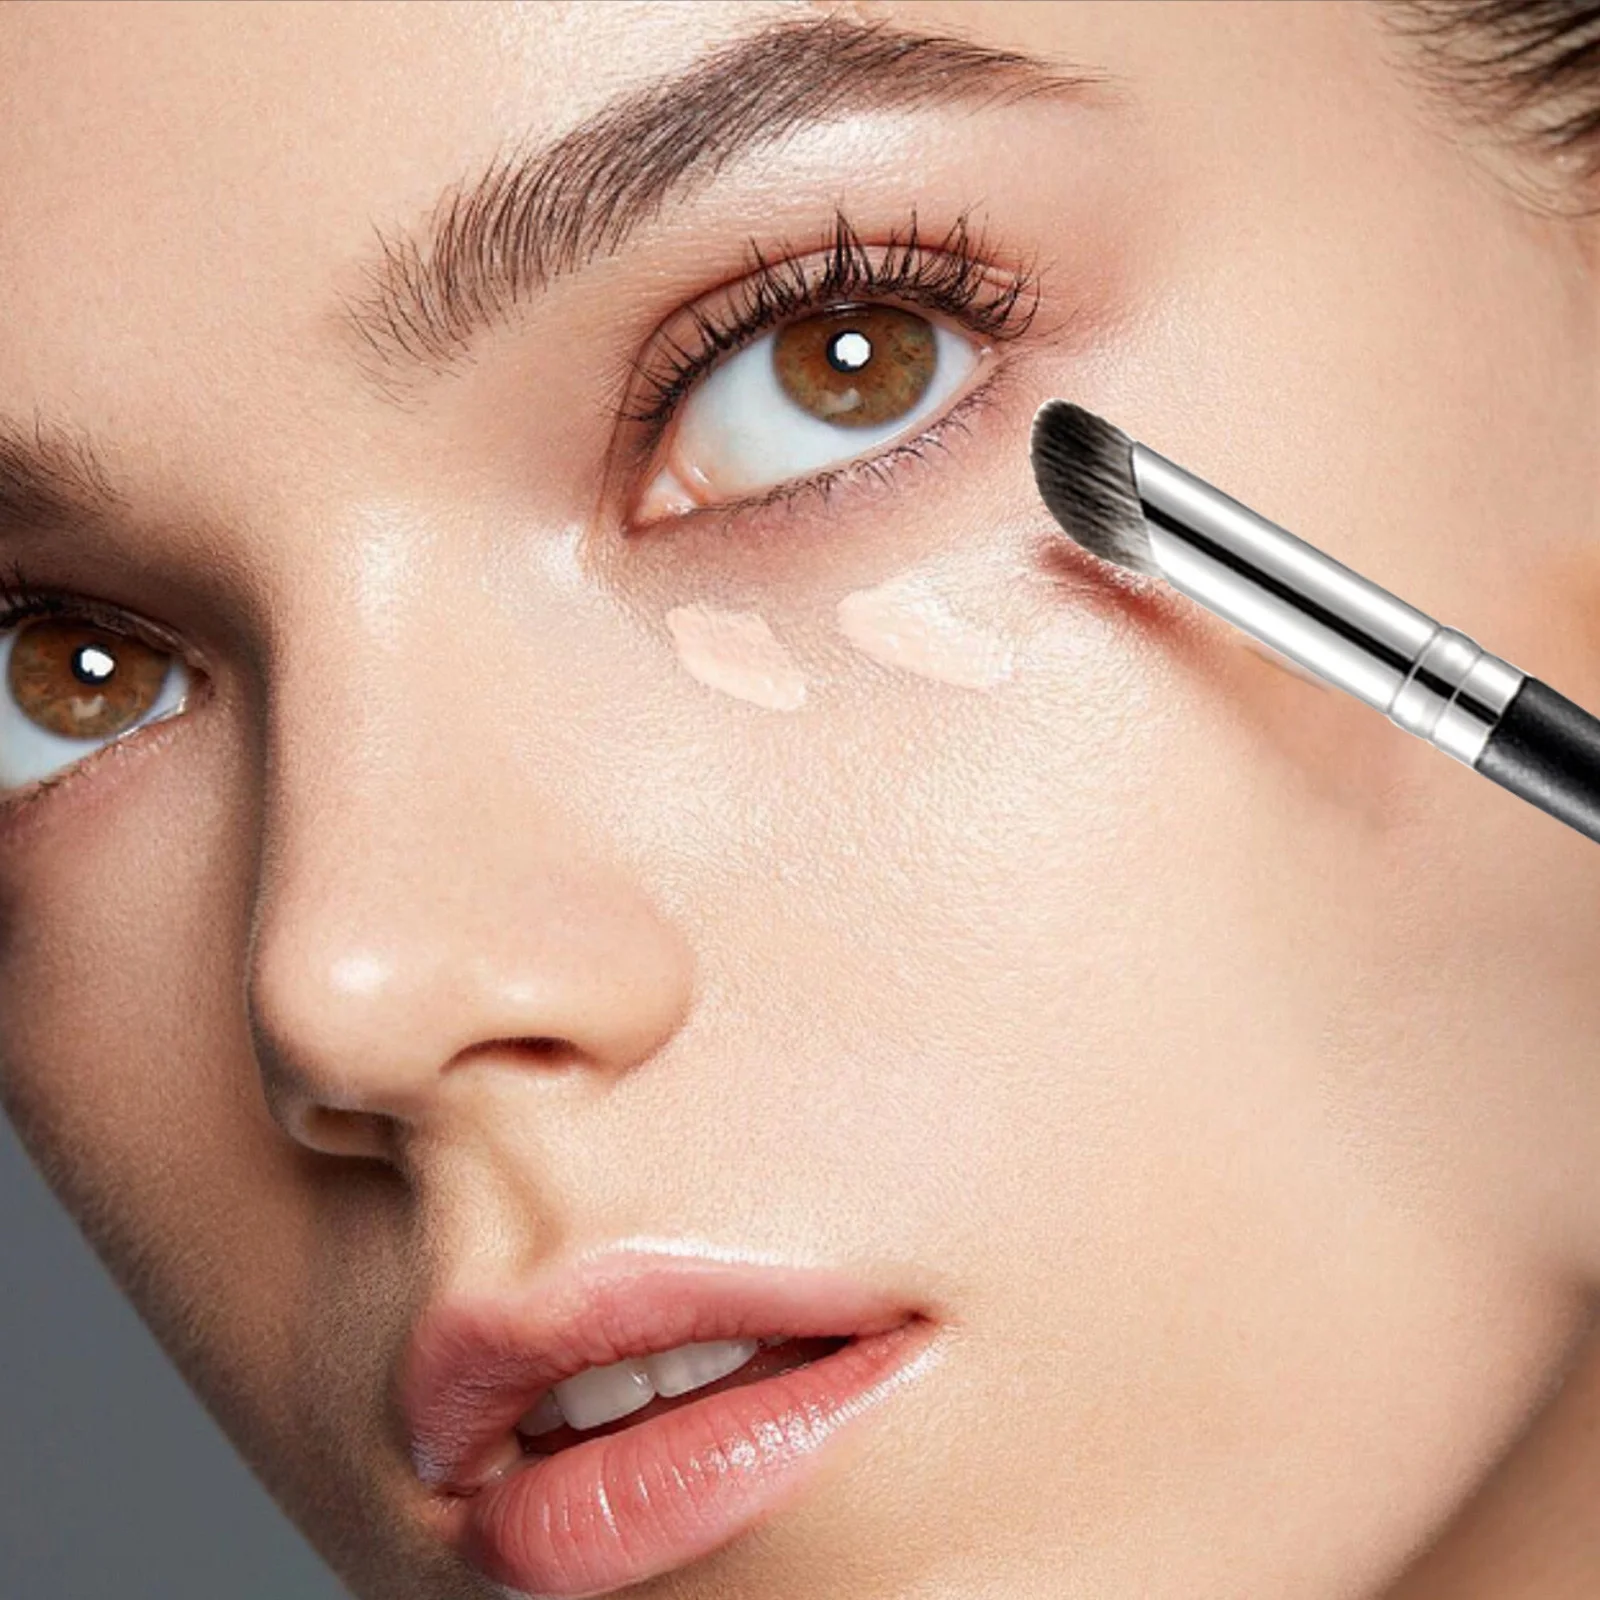
Add Highlighter
After contouring, apply the lighter concealer. Put it on your under-eye area, the center of your forehead, and along the bridge of your nose.
Blend, Don’t Rub
Pat and blend the concealer gently into your base. Never rub, as this can remove the layers underneath and create patchiness.
By using these expert techniques, your contour will look more natural and your features more defined. With practice, contouring with concealer can become a quick and simple addition to your daily makeup routine.
Mastering the Art of Highlighting
Highlighting is a critical step in contouring that enhances your best features. Can you use concealer as contour? It can add a subtle radiance or a striking glow, depending on how it’s applied. Effective highlighting draws attention to areas of the face that naturally catch light. Here’s how you can master this technique with ease:
- Choose Light Shades: Opt for a concealer one or two shades lighter than your skin for highlighting.
- Apply to High Points: Dot highlighter on the brow bones, bridge of your nose, above the cheekbones, and cupid’s bow.
- Use the Right Tool: A damp sponge or a dedicated highlighter brush helps achieve a smooth blend.
- Blend Gently: Tap and blend the highlighter into the skin using soft patting motions.
- Avoid Overuse: Too much highlight can look unnatural. Start with a small amount and build up if needed.
Properly applied highlighter should look almost seamless and give you a lit-from-within glow. Remember, the goal is to mimic the effect of natural light, not to look like you’re wearing a reflective stripe. Highlighting has the power to lift the face and give a youthful appearance, so practice this art with care and attention. With the right balance, you can achieve a beautiful, glowing complexion that shines in all the right places.
Blending for a Flawless Finish
Blending is key to natural-looking contour. Harsh lines can spoil the effect, so blend with care.
- Use proper tools: A blending sponge or brush ensures seamless integration of concealer.
- Pat, don’t rub: Gently pat the concealer into the skin to avoid wiping off the product.
- Use circular motions: Blend contours with small, circular strokes for even distribution.
- Highlight blending: Merge the lighter concealer areas into the base without streaking.
- Take your time: Rushed blending leads to obvious makeup lines. Slow down for perfection.
Proper blending equals a flawless finish can elevate your overall look. Practice these techniques to perfect your contouring skills.
Setting Your Contour and Highlight
Can you use concealer as contour?After mastering the application of concealers for contouring and highlighting, it’s vital to set your makeup. This ensures longevity and prevents your hard work from fading or creasing. Remember these steps for a long-lasting, polished look:
- Use Setting Powder: Apply a light dusting of translucent setting powder over the contoured and highlighted areas. This locks in the concealer.
- Avoid Over-Powdering: A light hand is key; too much powder can make the makeup look cakey.
- Focus on T-Zone: Pay extra attention to your forehead, nose, and chin when setting. These areas tend to get oily.
- Use a Fluffy Brush: For even application, a big, soft brush works best to lightly apply the powder.
- Let it Bake: Optionally, for areas needing extra hold, allow the setting powder to ‘bake’ for a few minutes before brushing away excess.
By setting your concealer contouring and highlighting, you safeguard your look against the daily elements. It will help maintain that flawless finish from morning to night, no matter what your day brings. Remember to use ‘Typsy Beauty’ products that are formulated to work together for the best results.
Common Pitfalls and How to Avoid Them
When using concealer for contouring, it’s easy to slip up. Avoid common errors to ensure a stunning look. Here’s how:
- Wrong Shade Selection: A shade too light or dark can look unnatural. Always test concealers on your jawline under natural light and pick those that vanish into your skin.
- Excess Application: Applying too much product leads to a heavy look. Start with a tiny amount and build up slowly for more coverage.
- Neglecting to Blend: Failing to blend can result in visible makeup lines. Use a blending sponge or brush and blend with patience for a natural effect.
- Skipping Powder: Without setting powder, concealer might crease. Apply a light dusting to set makeup and reduce shine.
- Ignoring Face Shape: Not all contouring methods work for every face shape. Customize your contouring technique to flatter your unique features.
By steering clear of these pitfalls, you can master the art of contouring with concealer. Remember, practice leads to perfection and a flawless finish.
Top Concealer Picks for Perfect Contouring
Can you use concealer as contour?When searching for the best concealers to contour with, the options might seem endless. But don’t worry, we’ve curated a list of top picks to create that perfect chiseled look. Here are the must-have concealers that stand out:
- Typsy Beauty Hangover Proof Concealer: This full coverage formula is crease-proof and lasts all day. It’s perfect to hide dark circles and blemishes.
- Swiss Beauty Liquid Concealer: Offers great coverage and blends into the skin with ease, giving you a natural finish.
- Maybelline Fit Me Concealer: Known for its lightweight feel and medium coverage, it’s ideal for creating soft contours.
- NYX Professional Makeup HD Photogenic Concealer: If full coverage is what you need, this will cover all imperfections while still looking natural.
- L.A. Girl Pro Conceal HD Concealer: A favorite for its long-lasting, high-coverage formula that won’t crease as the day goes on.
- Maybelline Instant Age Rewind Eraser Dark Circles Concealer: It’s not just for dark circles; its high coverage and light feel make it fantastic for contouring too.
Always remember to test concealers to find your perfect match. Apply a small amount at first, you can add more if needed. Using the right shade and amount will make or break your contoured look. And don’t forget to blend well for that flawless finish. With these top concealers, you’re set to sculpt and define your features like a pro.
Conclusion and Additional Tips
To wrap up, concealer contouring is an art that can enhance your features when done carefully. With the right shades and tools, anyone can define their face subtly or dramatically. Remember to choose concealer that complements your skin tone, and use highlighting and contouring techniques that suit your face shape. Blending is the secret to a refined finish, and setting your makeup is crucial for lasting wear. Avoid common mistakes by starting with less product and building up as necessary, and always test concealers in natural light. Ready to try contouring with concealer? Keep these tips in mind and practice to reveal your sculpted, radiant look. Happy contouring!