Simplify Your Makeup Routine with Homemade Concealer
Introduction to Homemade Concealer
Unlock the secret to a personalized beauty ritual with homemade concealer. This makeup essential can hide blemishes and even out skin tone. With natural ingredients, it’s gentle on your skin. Make concealer at home using simple tools. You’ll learn how in this guide. Ready to reimagine your makeup routine? Let’s dive in!
The Role of Concealer in Makeup
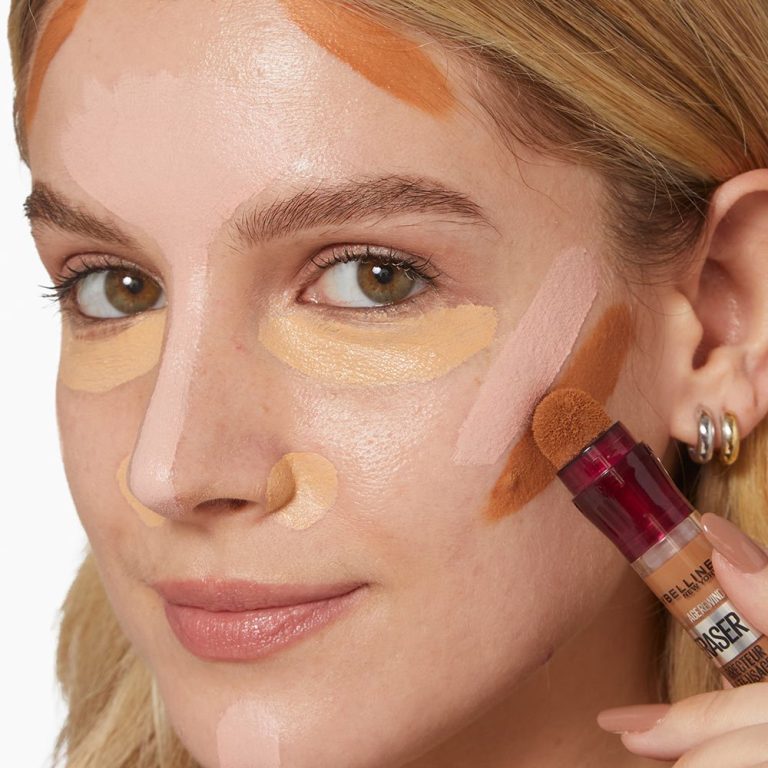
Concealer is a makeup staple for a flawless look. It hides dark circles, redness, and other blemishes. Concealer can highlight and contour, shaping your facial features. Use it to refine your look, creating a smooth and even skin tone.
Benefits of Using Natural Ingredients for Concealer
Using natural ingredients to make your own concealer has several benefits for your skin and overall health. Here’s why you should consider homemade concealers over store-bought ones:
- Skin-Friendly: Natural ingredients are generally gentler on the skin, reducing the risk of irritation.
- No Harsh Chemicals: You avoid the harsh chemicals found in many commercial makeups.
- Customizable: It’s easy to adjust the shades to match your skin tone perfectly.
- Nourishing Properties: Ingredients like shea butter and coconut oil provide nourishment.
- Cost-Effective: Making concealer at home can be more affordable in the long run.
- Eco-Friendly: Homemade products mean less packaging waste, making a positive environmental impact.
With benefits like these, homemade concealers not only contribute to a clear complexion but also promote healthier skin care practices.
Basic Tools and Ingredients Needed
To embark on your DIY concealer-making journey, you’ll need some basic tools and a few key ingredients. Ensuring these items are on hand will simplify the process and help you achieve the best results. Here’s what to gather:
- Beeswax or Burt’s Bees Lip Balm: Beeswax serves as a stabilizer and thickener for your concealer.
- Coconut Oil: This oil is great for moisturizing and has a smooth consistency.
- Cocoa Powder: Used for shading, this gives color to your homemade concealer.
- Double Boiler or Microwave (for heating): Required for melting and blending the ingredients.
- Mixing Bowl: To combine and mix your ingredients well.
- Measuring Spoons: For precise measurements of each component.
- Spatula or Mixing Tool: To stir and blend the ingredients.
- Empty Containers: Clean pots or jars for storing the final product.
For those with specific skin concerns, such as oily skin or the need for hydration, ingredients like aloe vera gel, almond oil, shea butter, and mango butter can be included to cater to these needs.
Gathering the right tools and ingredients is a crucial step in how to make concealer that not only conceals but also cares for your skin.
Step-By-Step Guide to Making Cream Concealer
Creating your own cream concealer is simple and satisfying. Follow these steps to make a concealer tailored to your needs.
Gather Your Ingredients and Tools
First, ensure you have all the necessary items. You’ll need beeswax or a natural lip balm, coconut oil, and cocoa powder. A double boiler or microwave, a mixing bowl, measuring spoons, a spatula, and clean containers are crucial.
Melt the Base
Using a double boiler or microwave, gently melt the beeswax or lip balm. This creates a smooth and thick base for your concealer.
Mix in Coconut Oil
Add coconut oil to the melted base. This hydrates the skin and gives the concealer a creamy texture. Stir well until the mixture is uniform.
Add Color and Adjust
Gradually mix in cocoa powder to get the right shade. Add a little at a time to match your skin tone. Be patient and test it on your skin as you go.
Set the Mixture
Pour the blended mix into your containers. Let them cool and set properly. You can place them in the fridge to speed up the process.
Test and Adjust
Once the concealer has set, test its consistency and coverage. If needed, re-melt and adjust the ingredients.
With this guide, you’re ready to make a cream concealer that feels good on your skin and looks great. Try it out and see the difference for yourself.
Recipes for Different Skin Types
Understanding different skin types is key to creating a perfect DIY concealer. Here are recipes tailored to various needs.
DIY Aloe & Almond Concealer for Hydration
Ideal for dry skin seeking extra moisture, this hydrating concealer uses soothing aloe vera.
- Melt 1 teaspoon of shea butter in a double boiler.
- Mix in 1 teaspoon of almond oil and aloe vera gel each.
- Add non-nano zinc oxide for coverage and mix.
- Gradually include cocoa powder for your skin shade.
- Let it cool in a container and apply with your fingertips nicely.
Cocoa Butter Concealer for Nourishment
For skin craving nourishment, cocoa butter offers a creamy and enriching solution.
- Gently melt 4 grams of beeswax.
- Stir in 5 grams of cocoa butter and 1 tablespoon of vitamin E oil.
- Slowly add cocoa powder to get the right color.
- Transfer to a container, cool down, then use to conceal flaws.
Bentonite & Cocoa Powder Concealer for Oily Skin
Bentonite clay is great for oily skin, absorbing excess oil without clogging pores.
- Melt 4 grams of beeswax over a double boiler.
- Mix in 1 tablespoon of bentonite clay and vitamin E oil.
- Add in cocoa powder for the desired shade.
- Pour mixture into your container, allow to cool, then apply where needed.
Mango & Coconut Brightening Concealer
For a glowy finish, mango and coconut concealer brightens while hydrating the skin.
- Melt 1 tablespoon of coconut oil.
- Combine with mango butter and shea butter, half a tablespoon each.
- Introduce cocoa powder bit by bit for your color match.
- Pour into a pot, cool it off, then apply for a natural radiance.
These recipes highlight ‘how to make concealer’ for various skin concerns. Each blend, easy to apply, offers a specific benefit—hydration, nourishment, oil control, or radiance.
Tips for Customizing Your Concealer Shade
Creating the perfect concealer shade is vital for a natural look. Here are some helpful tips:
- Start Light: Begin with a lighter base. You can always add more color.
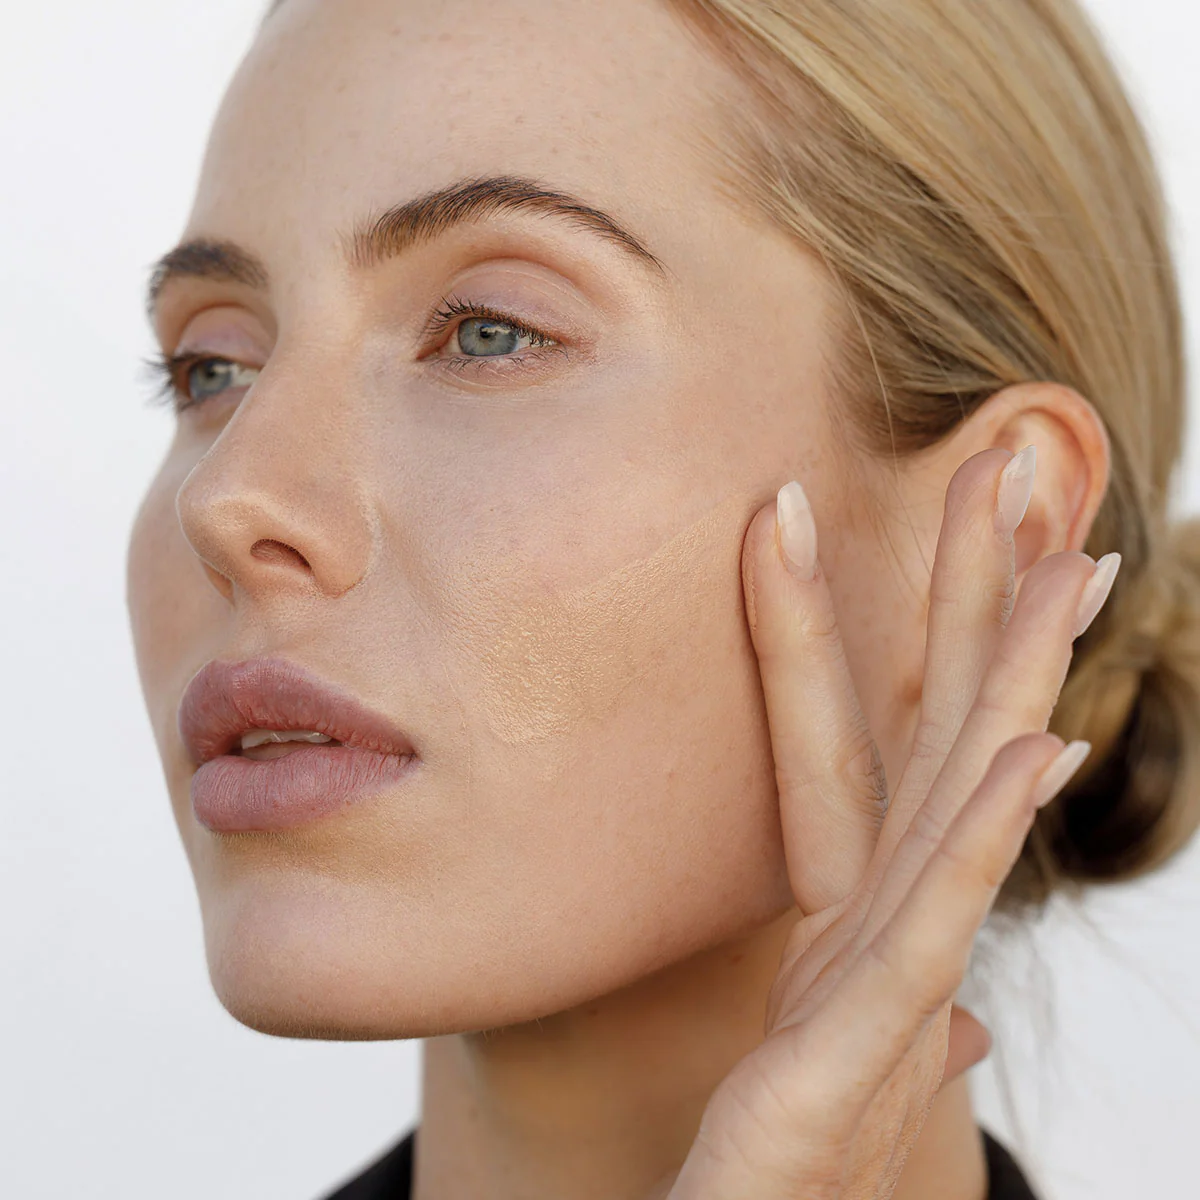
- Test on Skin: Apply small amounts to your jawline. Check the color in different lights.
- Mix Gradually: Add colorants like cocoa powder or clay slowly. This avoids over-darkening.
- Compare with Neck: Ensure your face and neck shades match for a seamless blend.
- Adjust for Seasons: Your skin tone may change with the seasons. Adjust your shade as needed.
- Use Natural Light: Check your concealer in natural light. It provides the truest view.
- Keep Skin Type in Mind: Consider your skin type – dry, oily, or combination. Add ingredients that benefit you.
- Remember Coverage: Decide on the coverage level you want. Buildable layers work best.
By following these steps, you can make a concealer that fits your skin tone perfectly. With practice, finding the right balance becomes easier. Enjoy the process of mixing and creating your own makeup.

Application Techniques for a Flawless Finish
Mastering the application of your homemade concealer is key for that flawless finish. Here are simple, effective techniques:
- Use Clean Tools: Always apply with clean fingers or a makeup brush to avoid bacteria.
- Warm Up the Product: Rub a little concealer between your fingers to warm it. This helps it blend better.
- Dab, Don’t Rub: Gently dab the concealer on imperfections. Rubbing can remove the product.
- Thin Layers: Start with a thin coat. Add more if you need extra coverage.
- Blend Edges: Make sure to blend the edges into your skin for a natural look.
- Set with Powder: If shiny, lightly dust with a natural powder to set the concealer.
By following these steps, you’ll be able to use your homemade concealer effectively, covering blemishes while maintaining a natural skin-like appearance. Enjoy the full benefits of your DIY makeup with these straightforward application tips.
Conclusion: Embracing Natural Beauty Solutions
Embrace the simplicity and benefits of homemade concealer. This guide showed you how to make concealer that matches your skin and concerns. Crafting your own makeup is not just a creative outlet, but a healthier option. It allows for skin-friendly concealers without harsh chemicals. Plus, it’s kind to your wallet and the planet.
With the steps provided, anyone can create a perfect blend. The recipes cater to different skin types, offering solutions for hydration, nourishment, and oil control. Remember to start light with the shade and adjust as needed. Testing on your jawline is the best way to find your match.
Use the tips to master the application technique. Clean tools, gentle dabbing, and thin layers will give you a flawless finish. Setting with a natural powder ensures lasting coverage.
Making your own concealer introduces you to a world where beauty and wellness meet. It’s a step towards embracing natural solutions in your makeup routine. Try this rewarding craft. Feel confident in natural, effective cosmetics tailored just for you.
