Where to Apply Blush
Contents
hide
The Art of Blushing: Where to Apply for a Radiant, Youthful Glow
Blush serves a simple yet transformative purpose in makeup – it revitalizes the complexion. That flushed, rosy warmth instantly breathes life and vibrancy back into dull, fatigued skin. Placed strategically, blush recreates the flirtatious bloom of youth. It imparts a lively, attractive glow. But where exactly does blush go? Where to apply blush? And how does one ensure a flawless, natural-looking application? This guide covers all the secrets to achieving an enviably fresh, radiant look.
Understanding Your Face Shape
Before applying blush, determine your overall face shape. This dictates the ideal areas to concentrate color for maximizing effects. Face shapes fall into several main categories:
- Round – Focus color high on cheekbones and blend toward temples to add definition.
- Square/Rectangular – Concentrate blush in the hollows underneath cheekbones to soften angles.
- Heart/Triangle – Layer blush highest on the cheek apples closest to the nose.
- Oval – Apply blush following the contours along the raised cheekbone areas.
Each shape has unique flattering placement techniques. But all allow enhancing the complexion’s natural architecture and dimension with strategic blush.
Finding Your Flush’s Sweet Spots
Identifying the precise high points and hollows makes blush application look seamless. Here’s where to concentrate color for a natural glow:
- Cheekbones – Naturally raised areas forming an imaginary line from the ear to the outer corner of the eye socket.
- Apples – The rounded, elevated areas directly beneath the center pupils and closest to the nose.
- Temples – Apply softly across the protruding bones at the hairline and eye sockets.
- Smile Lines – The hollow area beneath the cheekbone toward the corners of the mouth.
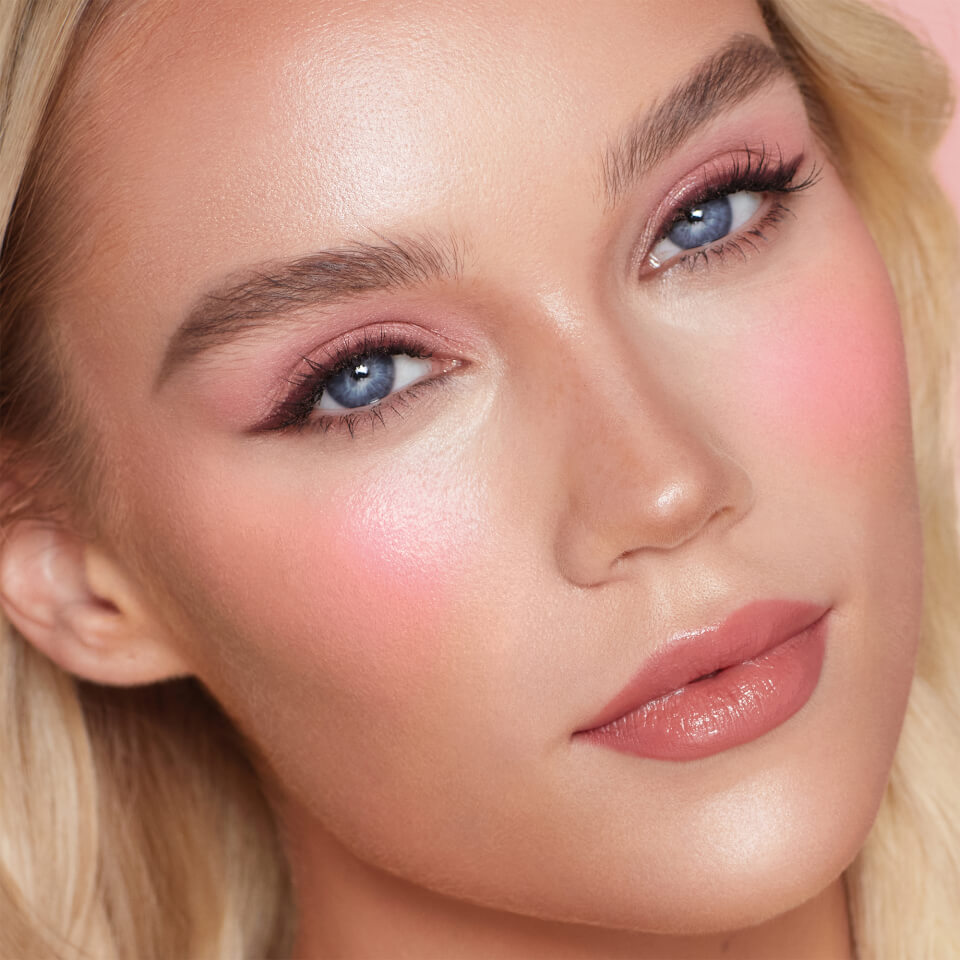
Blush should concentrate highest intensity on the protruding apple areas, softly diffusing outward down the cheekbones and along the temples. Using a light hand and blending thoroughly prevents harsh lines or streaking. Darker shades look more natural in the hollow areas, lighter tones on the raised surfaces.
Draping Techniques for Sculpture and Definition
Beyond the classic smile lines, blush gets used to enhance complexion dimensions. Specific draping methods create shaping and contouring illusions:
- Underneath the Cheekbones – Blending darker tones beneath the hollow area elongates and slims the face.
- Into the Hairline – Wrapping blush toward the temples and along the hairline adds flattering facial structure.
- Toward the Jawline – Sweeping and concentrating color beneath the jawbone contours and slenderizes.
- Down the Nose – Dusting the slightest hints along the nose sides/tip creates subtle sculpting effects.
These techniques shave years off the complexion by revealing hidden contours. When done with care and seamless, undetected blending, blush recreates a natural, lifted, vibrant radiance.
Day vs Night Blush Placement and Effects
Different levels of blush intensity create vastly different effects. Here’s how to adjust placements for day versus evening:
Day – Keep blush soft, sheer, and concentrated only on the apple areas for a refreshing pop of color.
Evening – Build deeper pigments for a more dramatic sculpted radiance through draping methods.
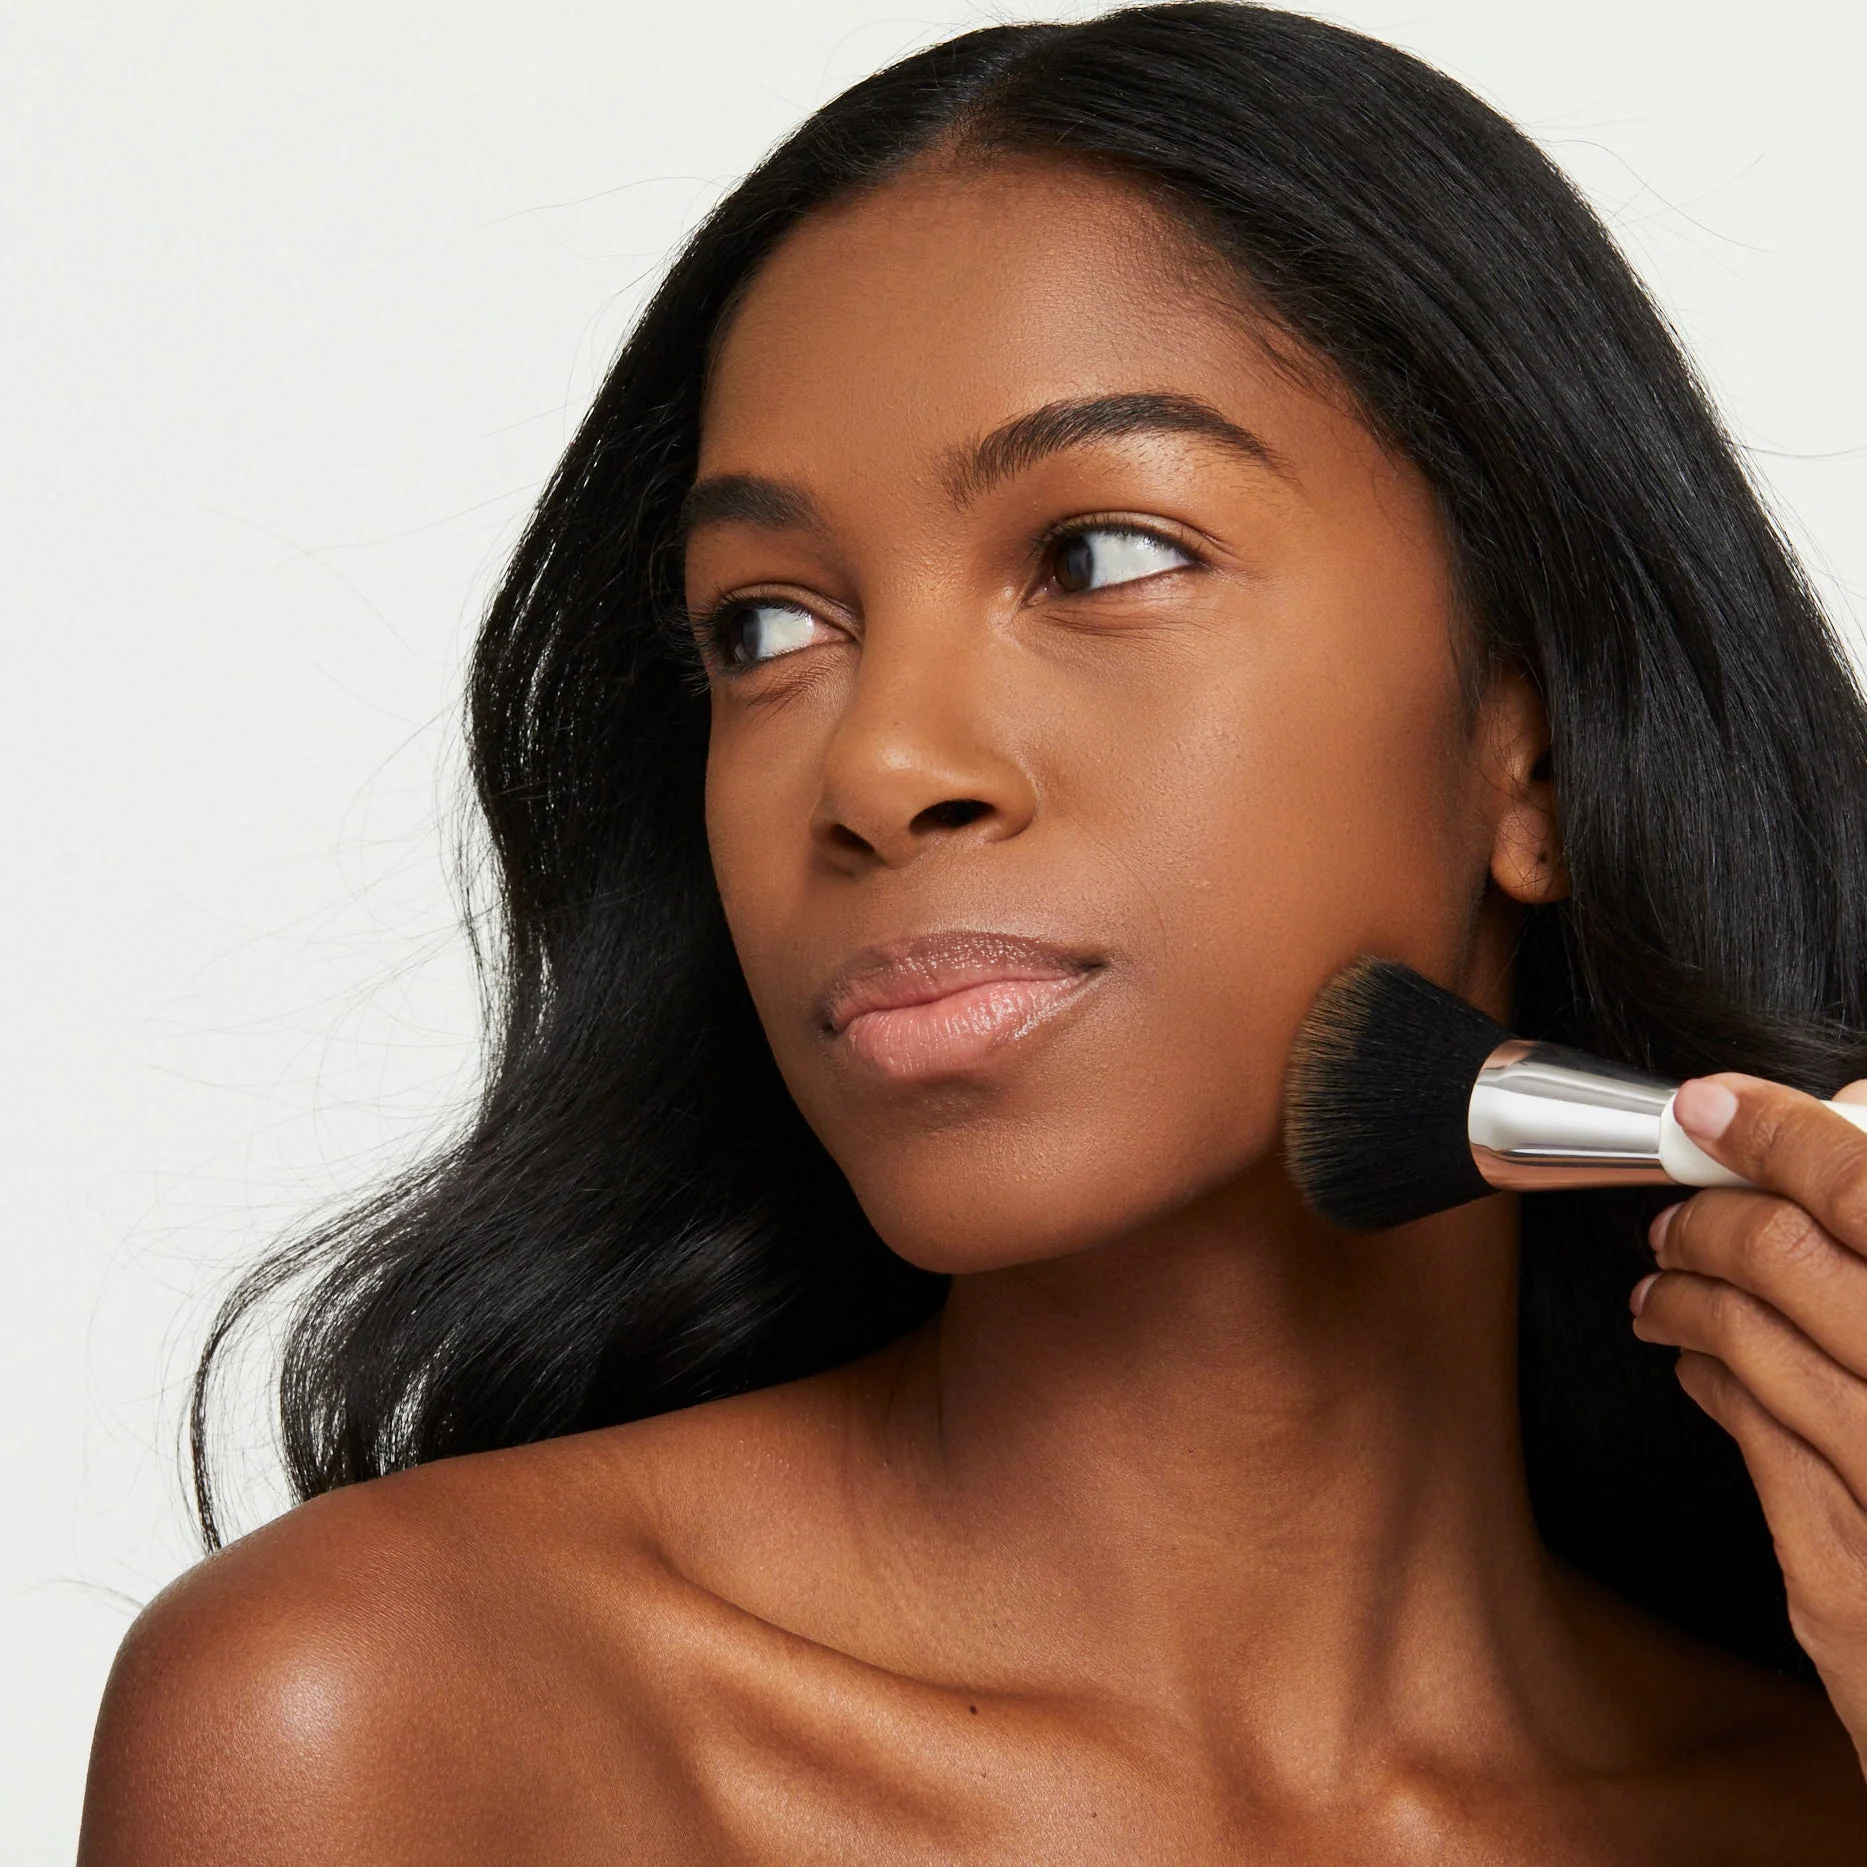
For work and casual looks, simply smile and apply blush directly on the rounded cheek areas. This provides a quick, glowing perk-me-up. Using fingers helps diffuse the color seamlessly.
For dinners, parties, and formal events, layer blush strategically from the hollows outward using brushes or sponges. Concentrate pigment beneath the cheekbones, wrapping upward toward the temples. Add extra definition by draping pigment down the jaw line. Using darker sculpting shades accentuates dimension.
As a general rule, daytime blush looks underdone to provide a soft, effortless flush. Evening calls for bolder placements to enhance glow, symmetry, and definition.
Targeting Blush Placement for Other Effects
Beyond general flush effects, blush serves multiple purposes for complexion enhancement:
- Brightening – Blend shimmery, luminous blush directly onto cheekbones to attract light and brighten exhausted skin.
- Correcting – Use yellow-toned, color-correcting blushes to neutralize sallowness, redness, and dullness.
- Faking a Tan – Follow the hollowed-out “3” technique bronzing along the hairline, jawline, and cheekbones to mimic a sunkissed glow.
- Combating Flatness – Apply contrasting blush colors underneath cheekbones and into hairline to restore volume and dimension.
- Concealing Flaws – Blend a sheer, radiant blush formula over blemishes, redness, and hyperpigmentation to instantly blur and diffuse the appearance.
Cheek products offer far more than just rosy warmth. Used cleverly, blush instantly enhances the complexion’s even tones, shape, and overall luster.
Magnetic Colors for Universal Flattery
Some blush shades deliver an instantly brightening, enlivening flush to all complexions:
- Rosy Pink – Vibrant cool-toned pinks warm up dullness and mimic youth’s natural bloom.
- Peachy – Sheer peach tones add sheer, radiant warmth to the complexion.
- Berry – Deep plum and rosy wine tones create shadows and angle-softening definition.
- Bronzed – Neutral terra-cotta and apricot tones impart a healthy, sunkissed glow.
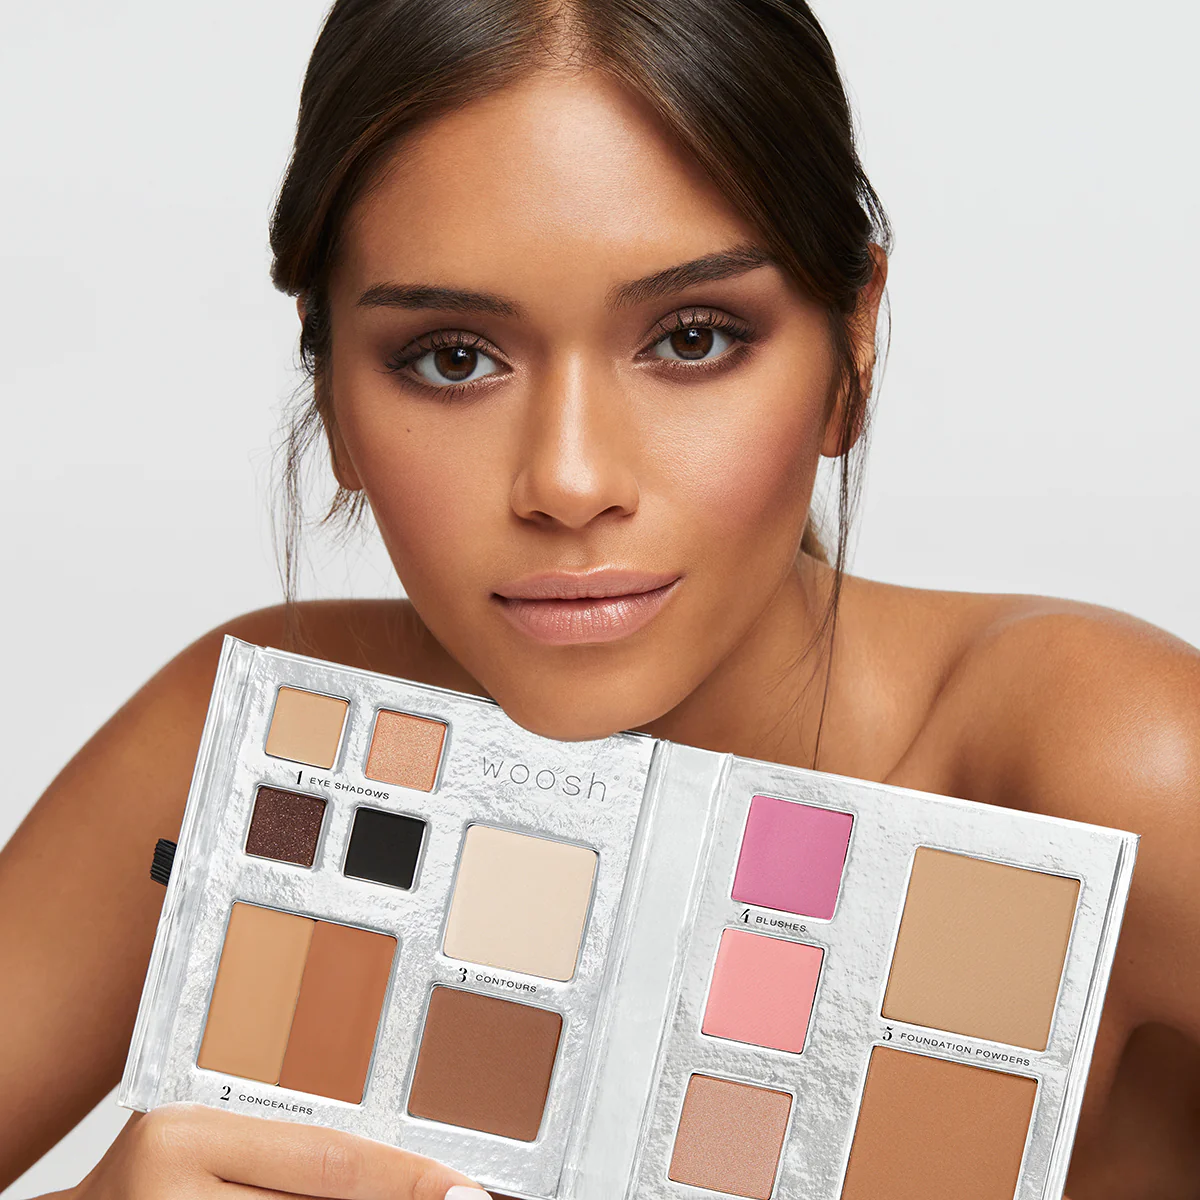
Layering multiple coordinating shades from these flattering categories provides dimensionality and makes features pop depending on blending and concentration.
Blush’s Revitalizing Power
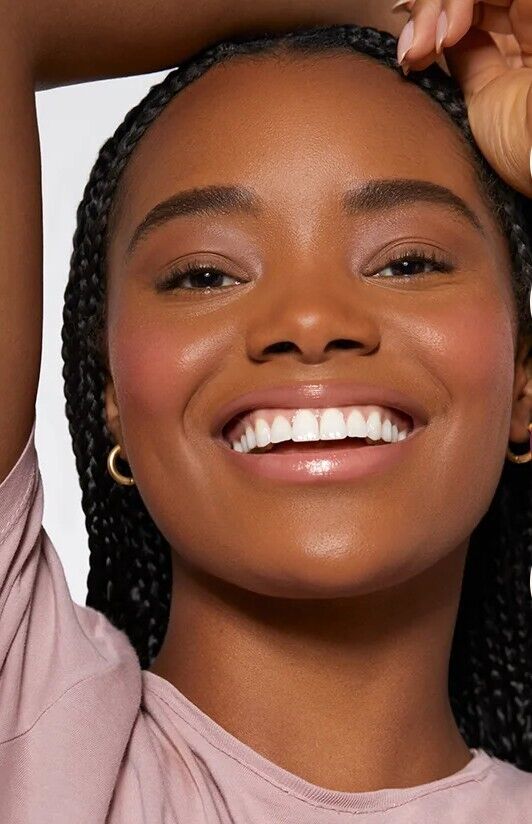
When applied precisely to the face’s natural shape and contours, blush breathes new life into tired, lackluster complexions. That enlivened, vibrant radiance creates an impression of abundant youth and vitality.
Even distribution across the apples produces an instant pick-me-up for the whole face. Sculpting and draping techniques enhance bone structure, minimize flaws, and restore lost dimensions. A well-blended, multi-tonal application technique replicates natural skin’s luster.
Most importantly, blush awakens and flatters all complexions when the right shades concentrate on the face’s natural high points and hollows. Used artfully, this tried-and-true makeup artist secret creates the ultimate in effortless, glowing allure.
Conclusion
Knowing the right placement for blush can elevate your makeup game and enhance your facial features. By applying blush to the apples of your cheeks, you can create a youthful and natural flush. Utilizing a light hand and blending well ensures a seamless and flattering finish. Consider your face shape when determining the ideal placement for blush to accentuate your features.
Whether it’s a round, oval, square, or heart-shaped face, the right application technique can create a harmonious and balanced look. By mastering the art of blush application, you can add a radiant and healthy glow to your complexion, completing your makeup look with a touch of radiance. Experimenting with different techniques and placements will help you find the most flattering and personalized approach for your unique facial structure.